How to use a storyboard template
Whether you're creating videos, animations, or eLearning courses, storyboard templates give you a ready-made framework to visualize your story step by step. Here's how to get the most from them.
Start with your story concept
Before you fill in any storyboard panels, take time to clarify your concept. What's the story you want to tell? Who are your stakeholders? Write a brief outline or script to guide the storyboarding process — this saves time and ensures every panel serves your objectives.
Build your storyboard panel by panel
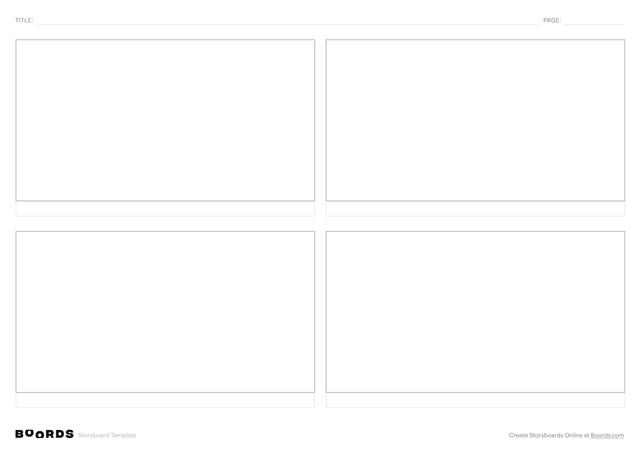
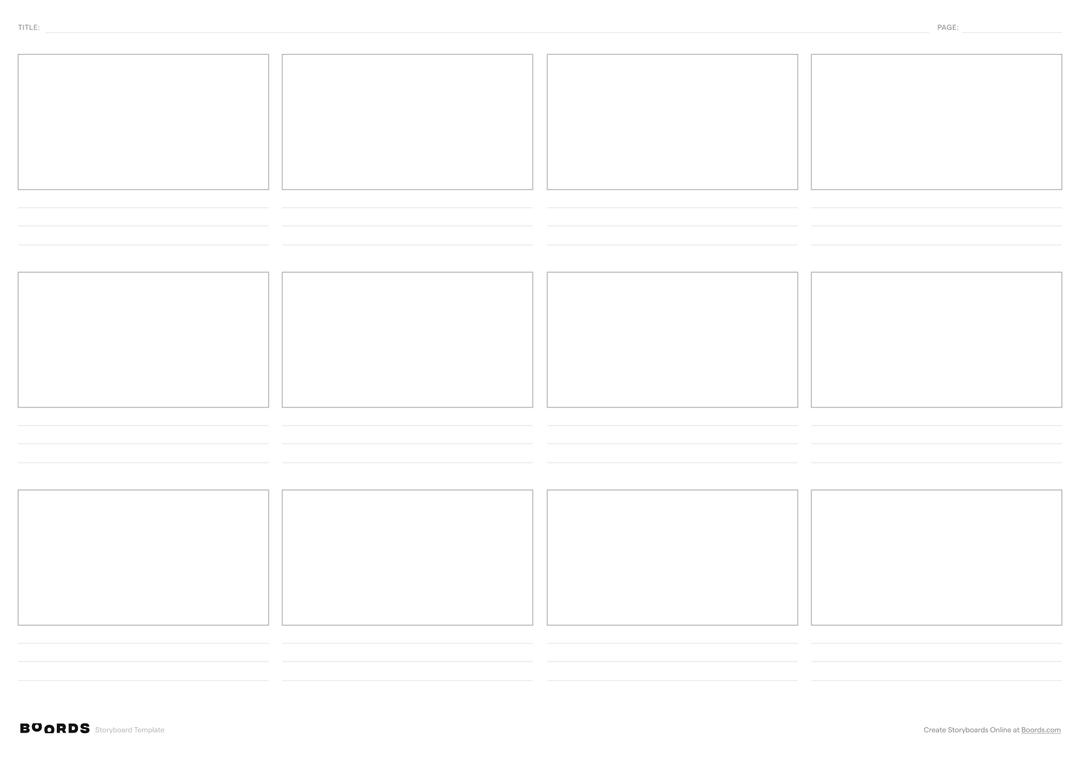
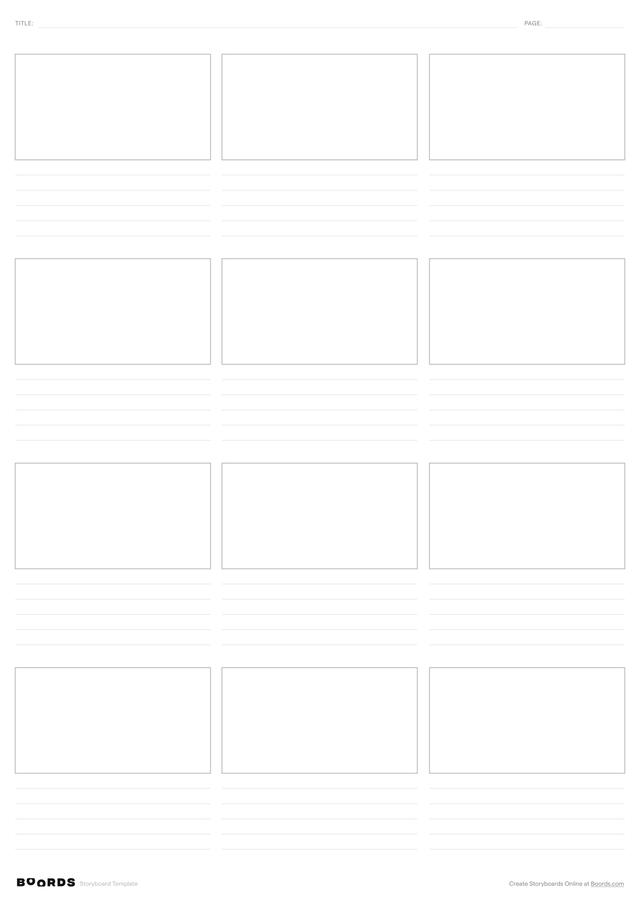
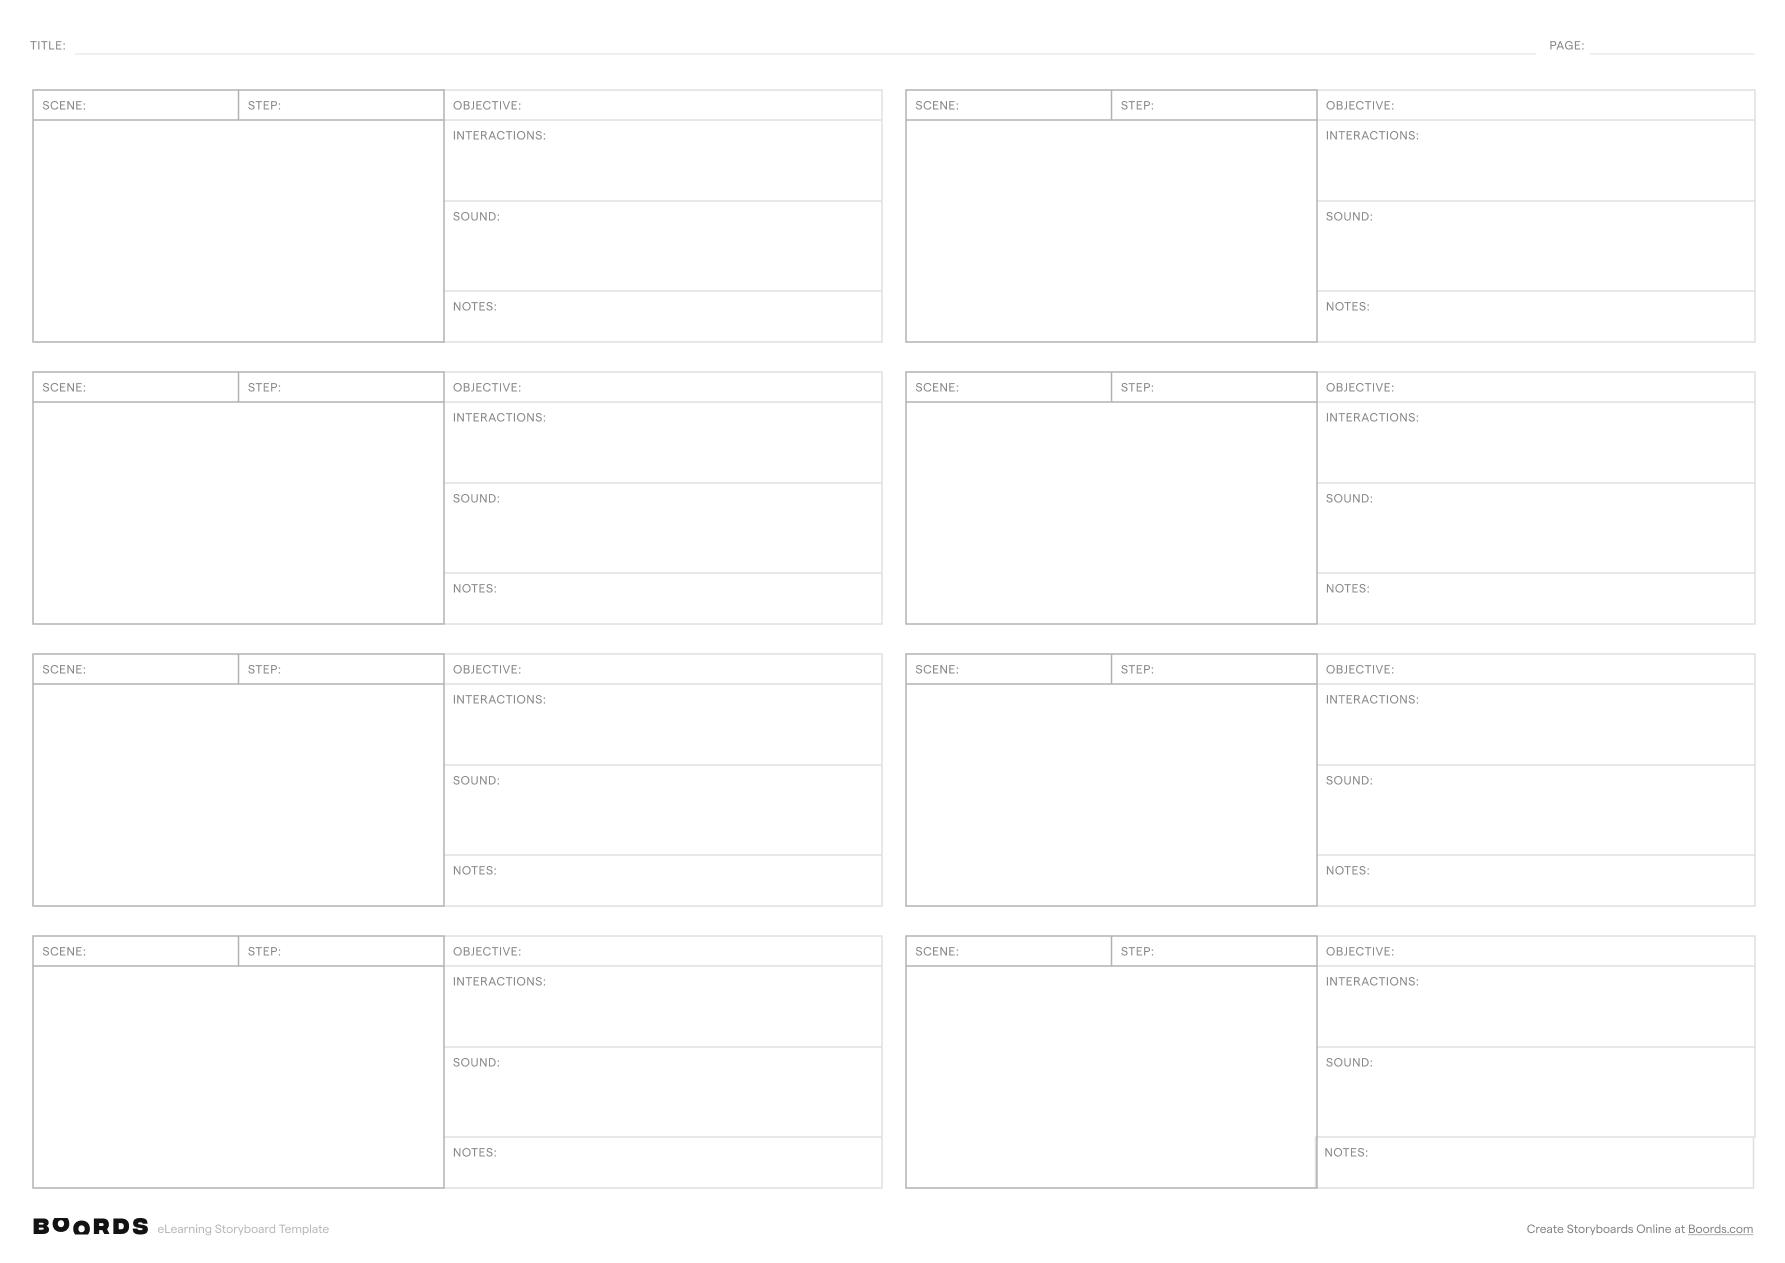
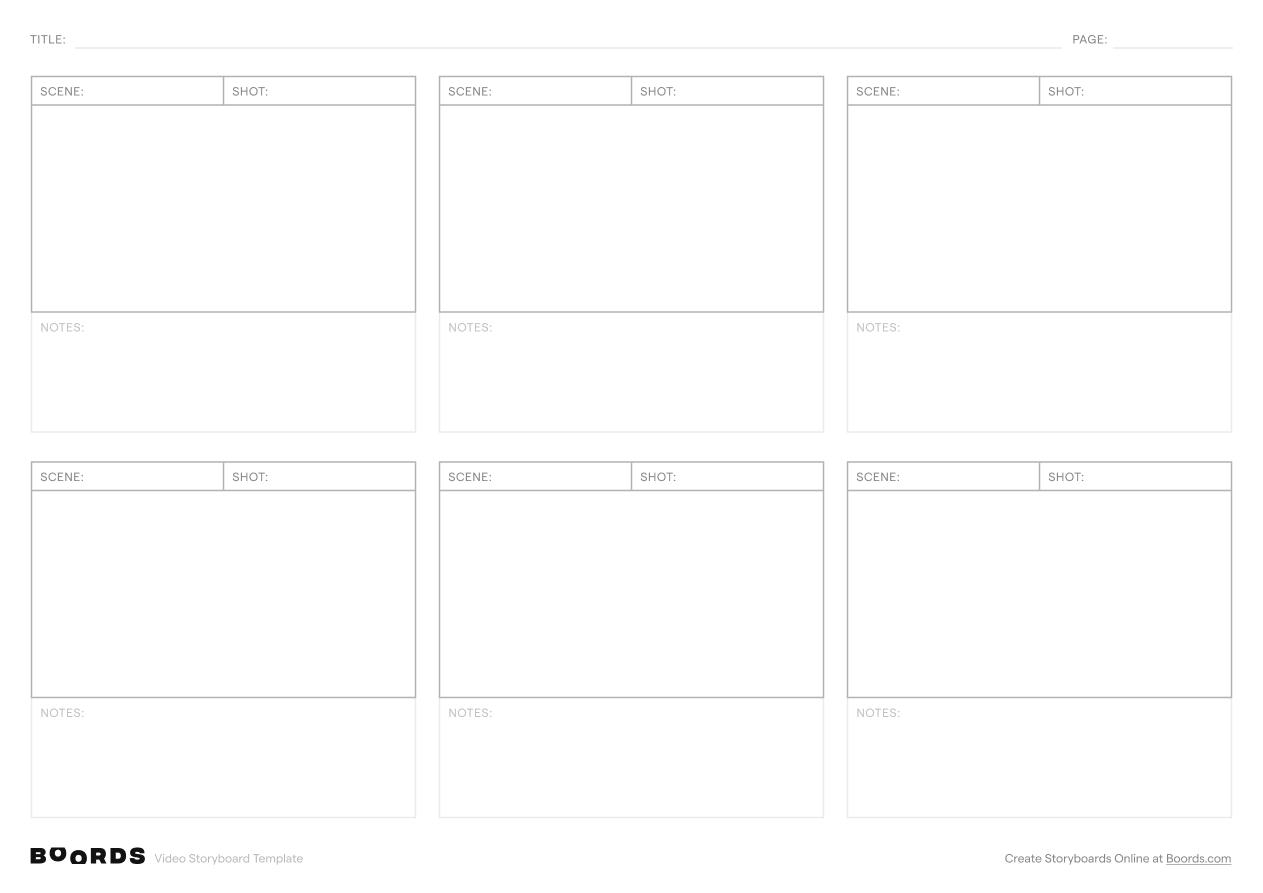
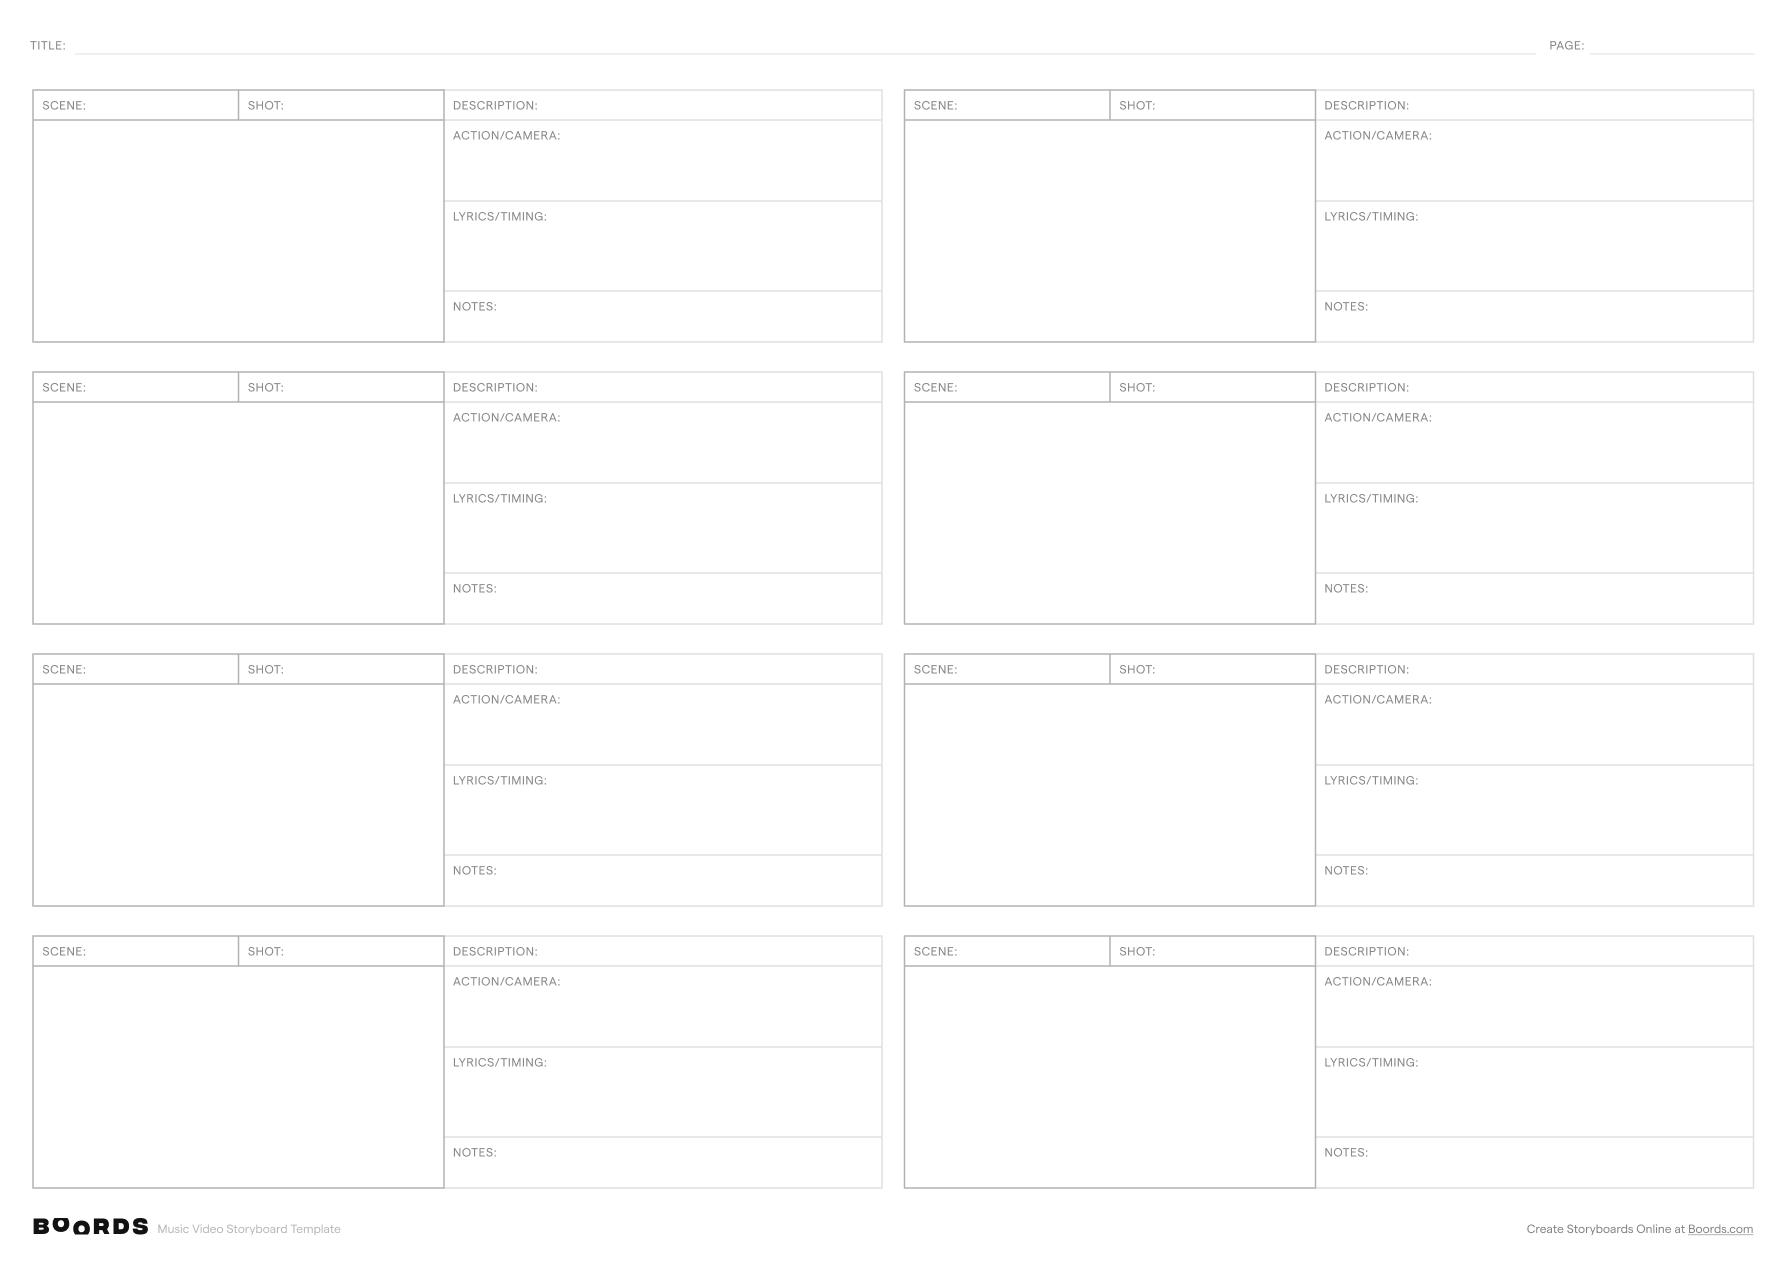
Work through your storyboard template in sequence. For each panel, sketch or place images that represent the key visuals, then add notes for dialogue, action, and camera direction. Don't worry about making the illustrations perfect — focus on communicating your vision clearly.
Add notes, voiceovers, and timing
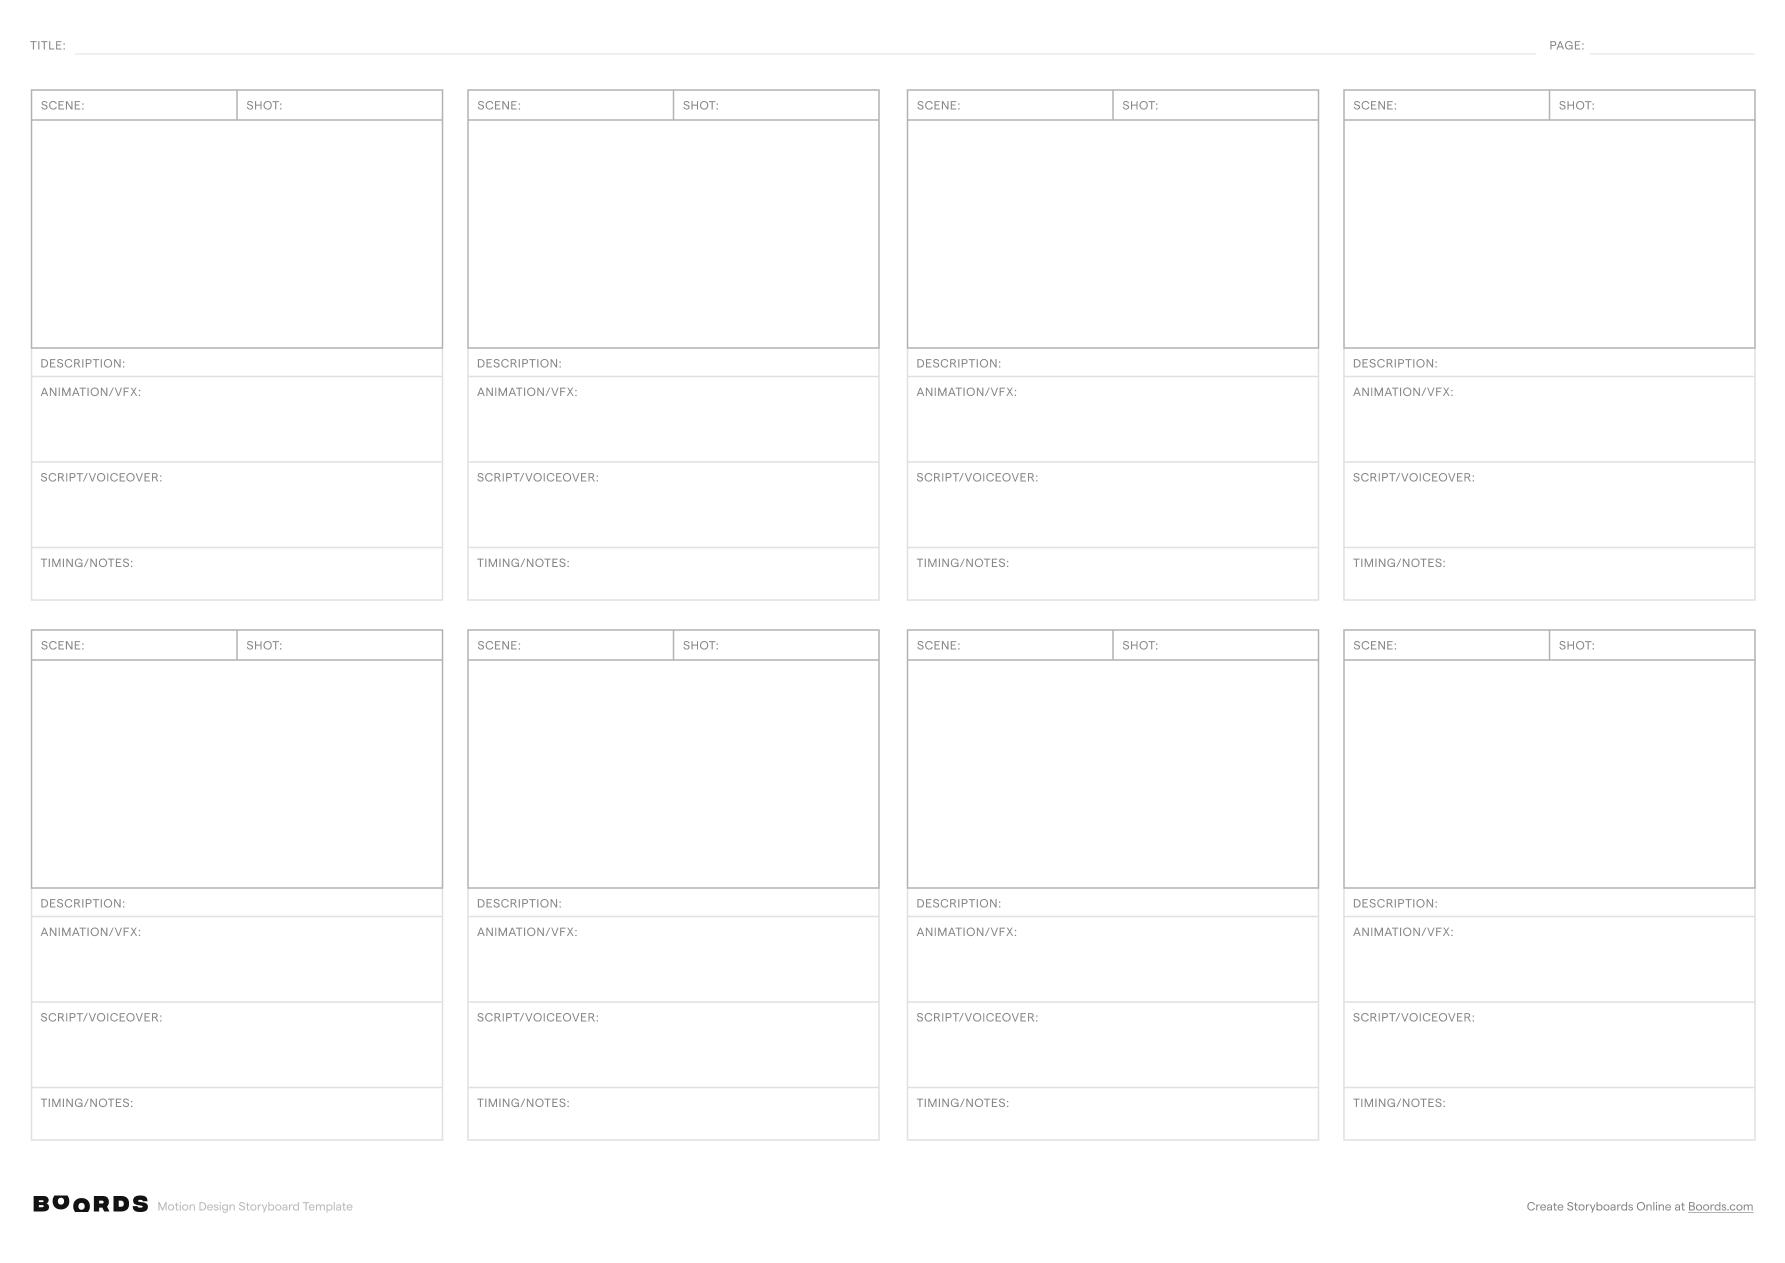
The best storyboard templates include fields for more than just visuals. Use the notes section to attach voiceover scripts, sound design tips, and timing information. This level of detail helps your team, clients, and collaborators understand exactly what each scene requires during production.
Share, collaborate, and iterate
A storyboard is a living document. Share it with your team for feedback, make revisions, and ensure everyone is aligned before moving forward. With Boords, you can collaborate in real time, leave comments, and track changes — so you can iterate quickly and bring your project to life with clarity and confidence.
Ready to start?
Download a free storyboard template above, or sign up for Boords to create editable storyboards with built-in tools for collaboration, animatics, and more. Learn more about the storyboarding process in our free storyboarding guide.
