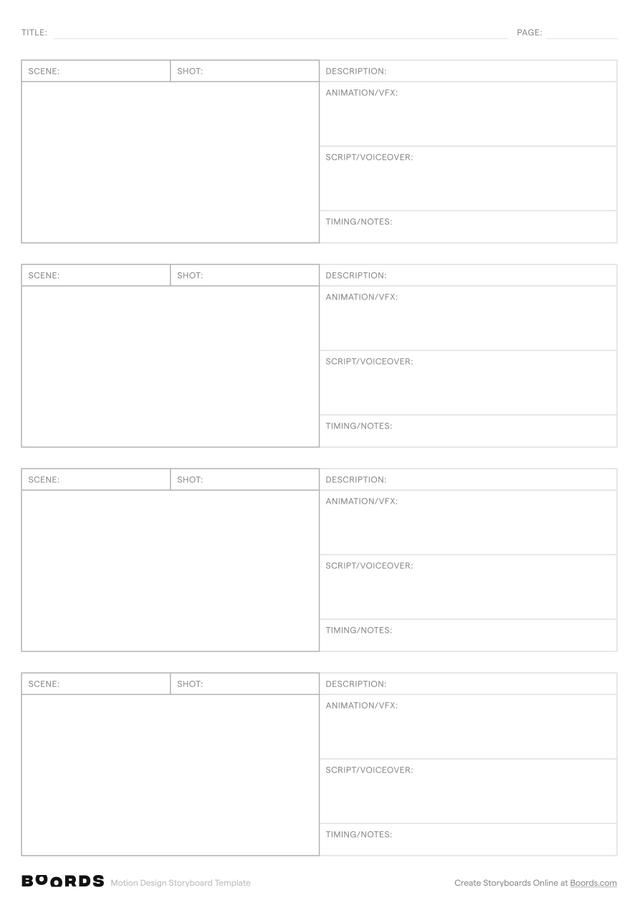
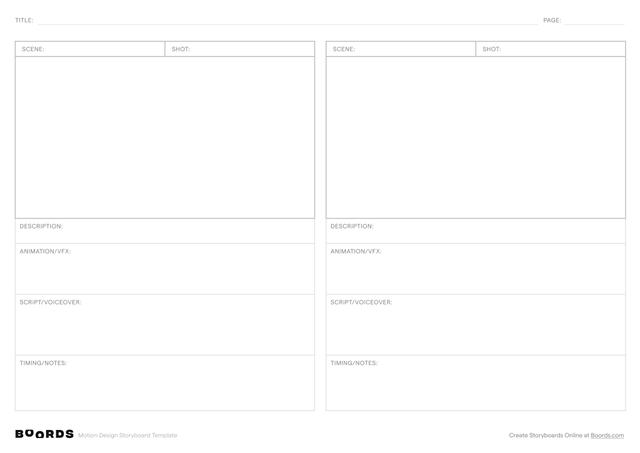
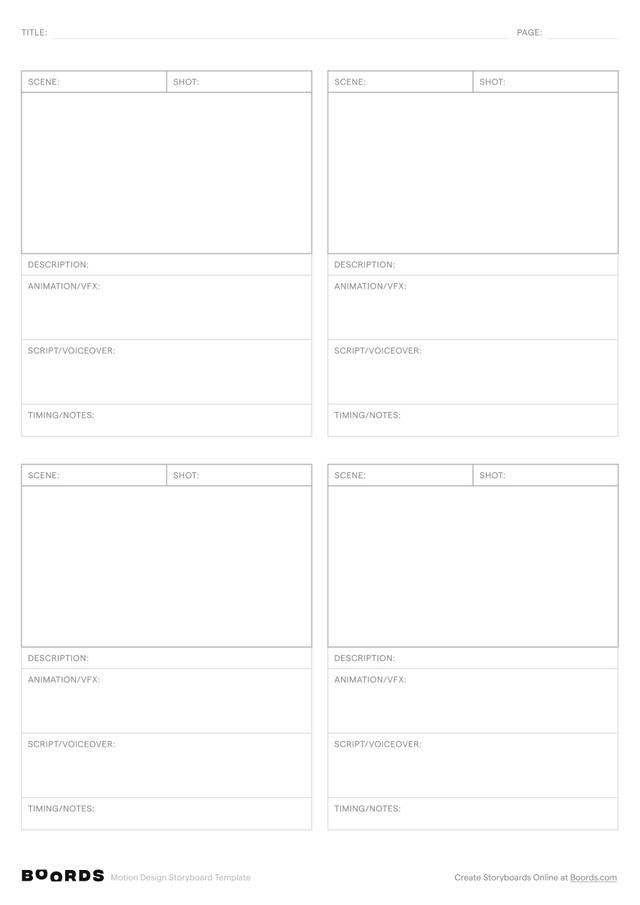
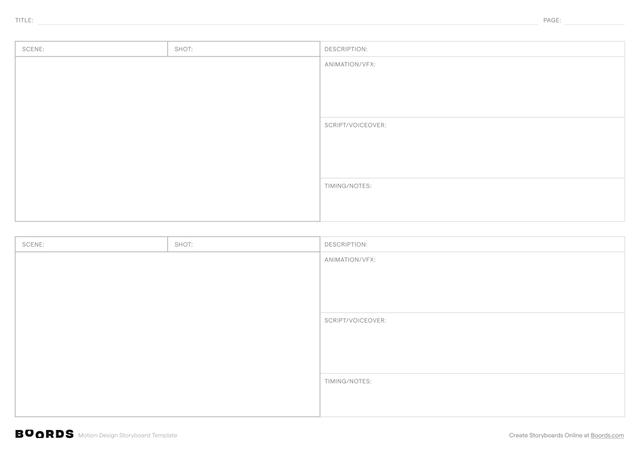
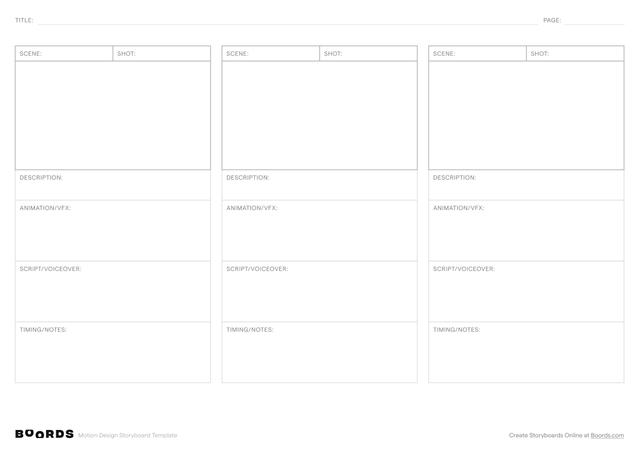
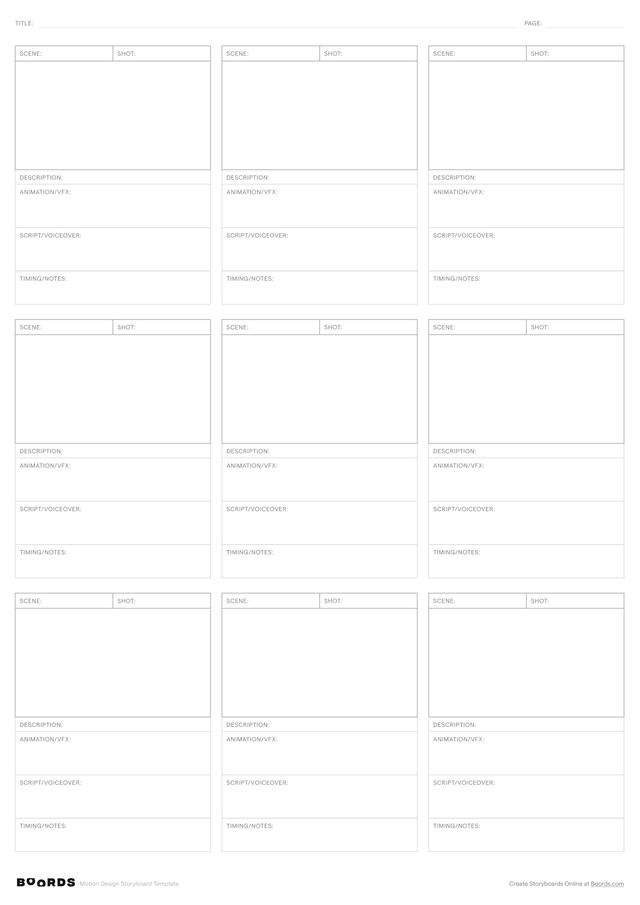
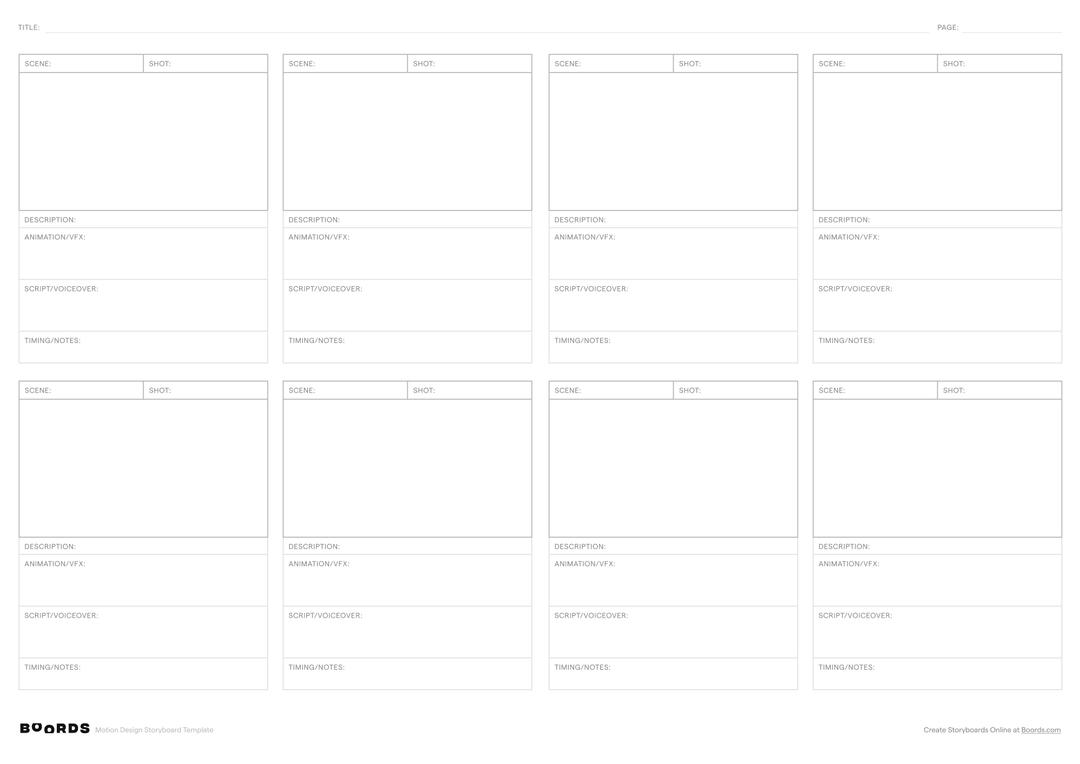
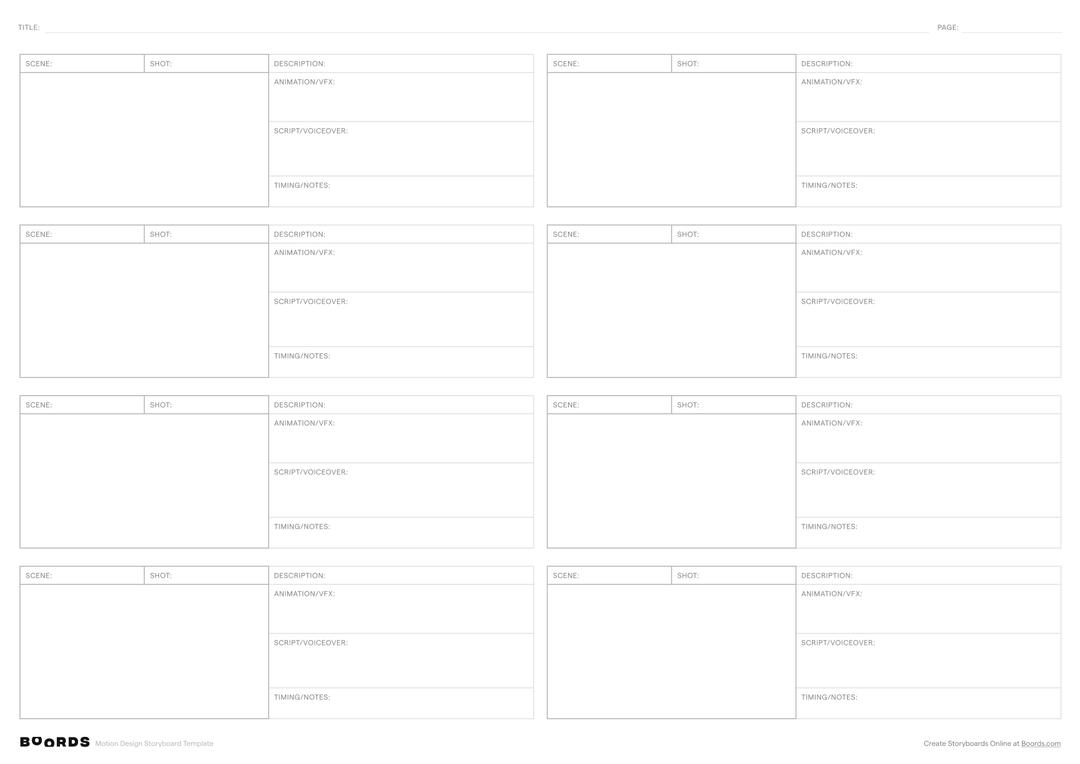
Step 1: Fill in the Title

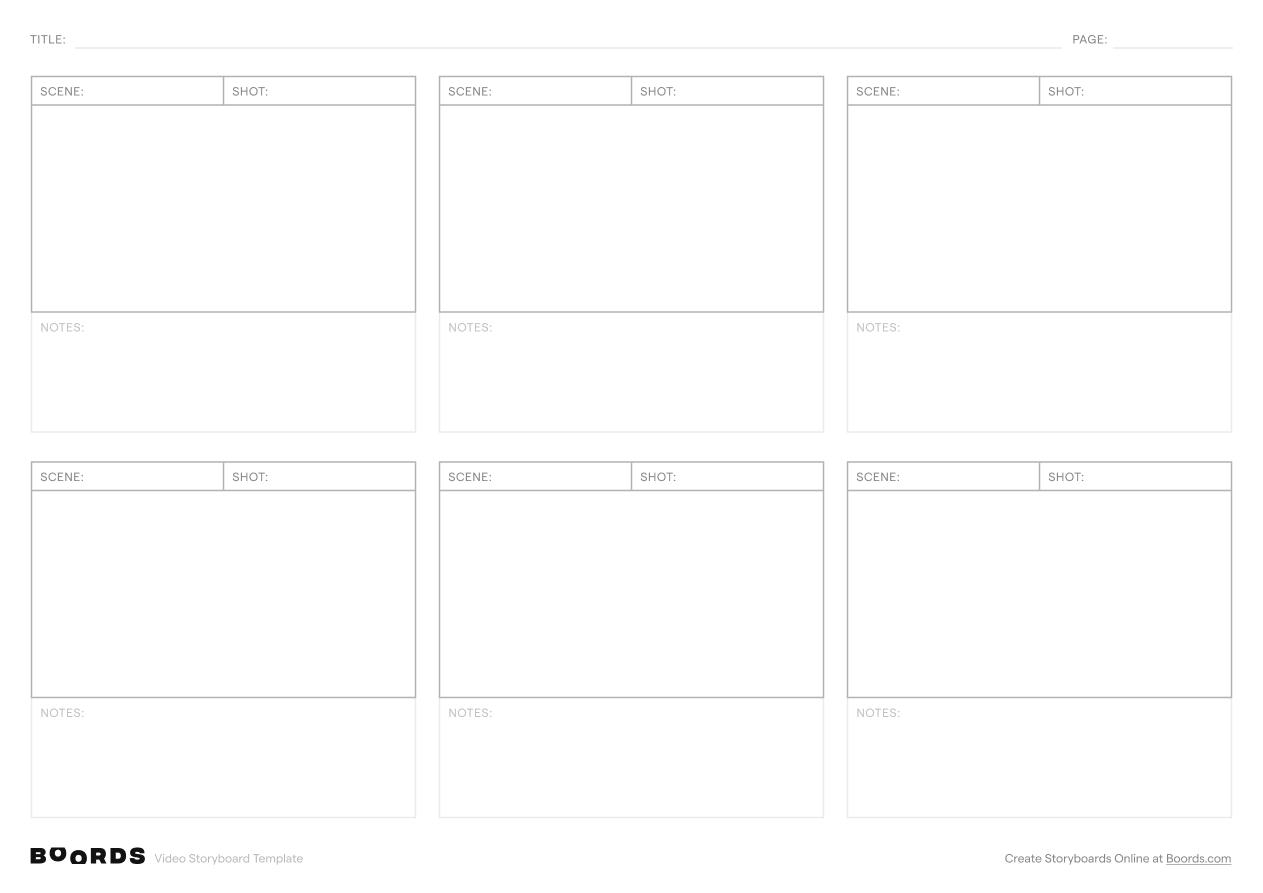
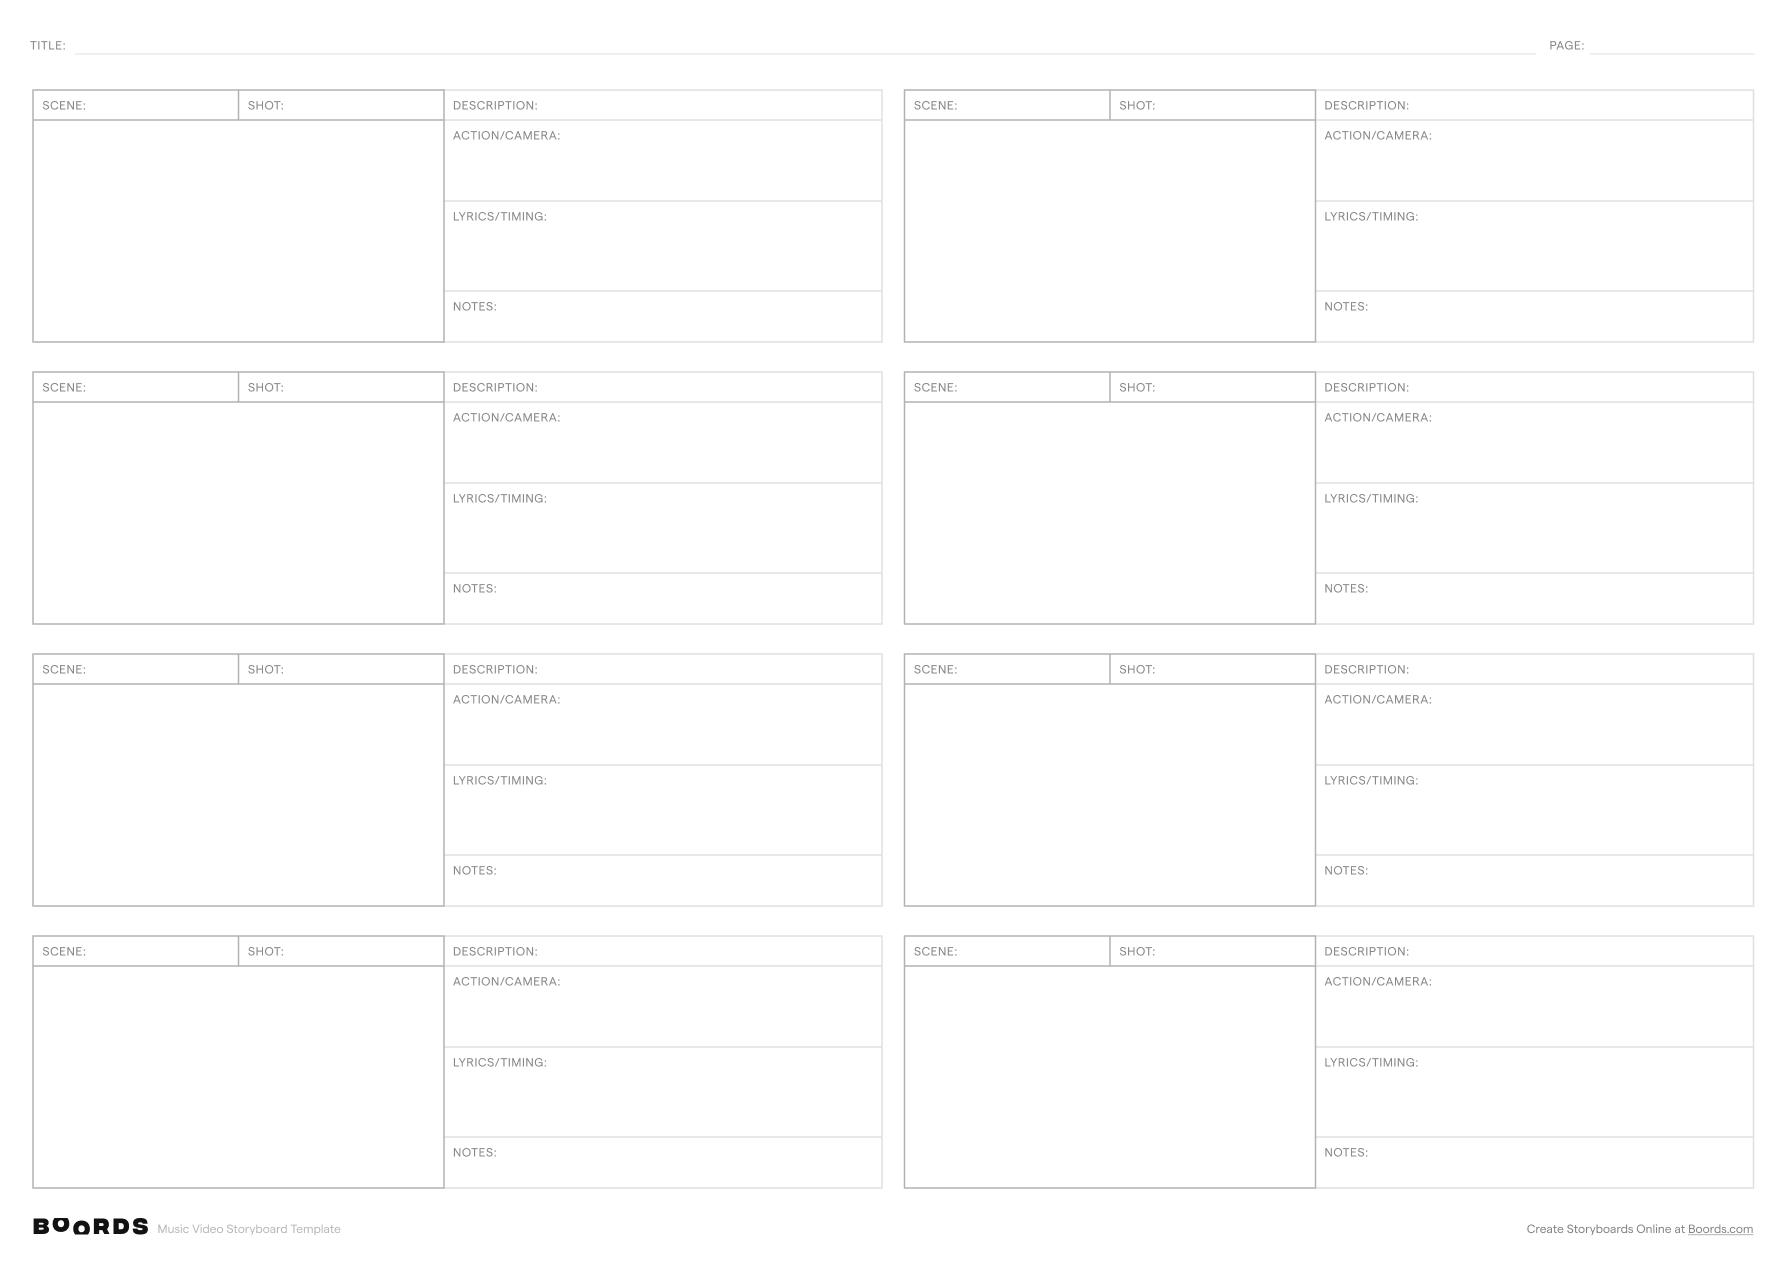
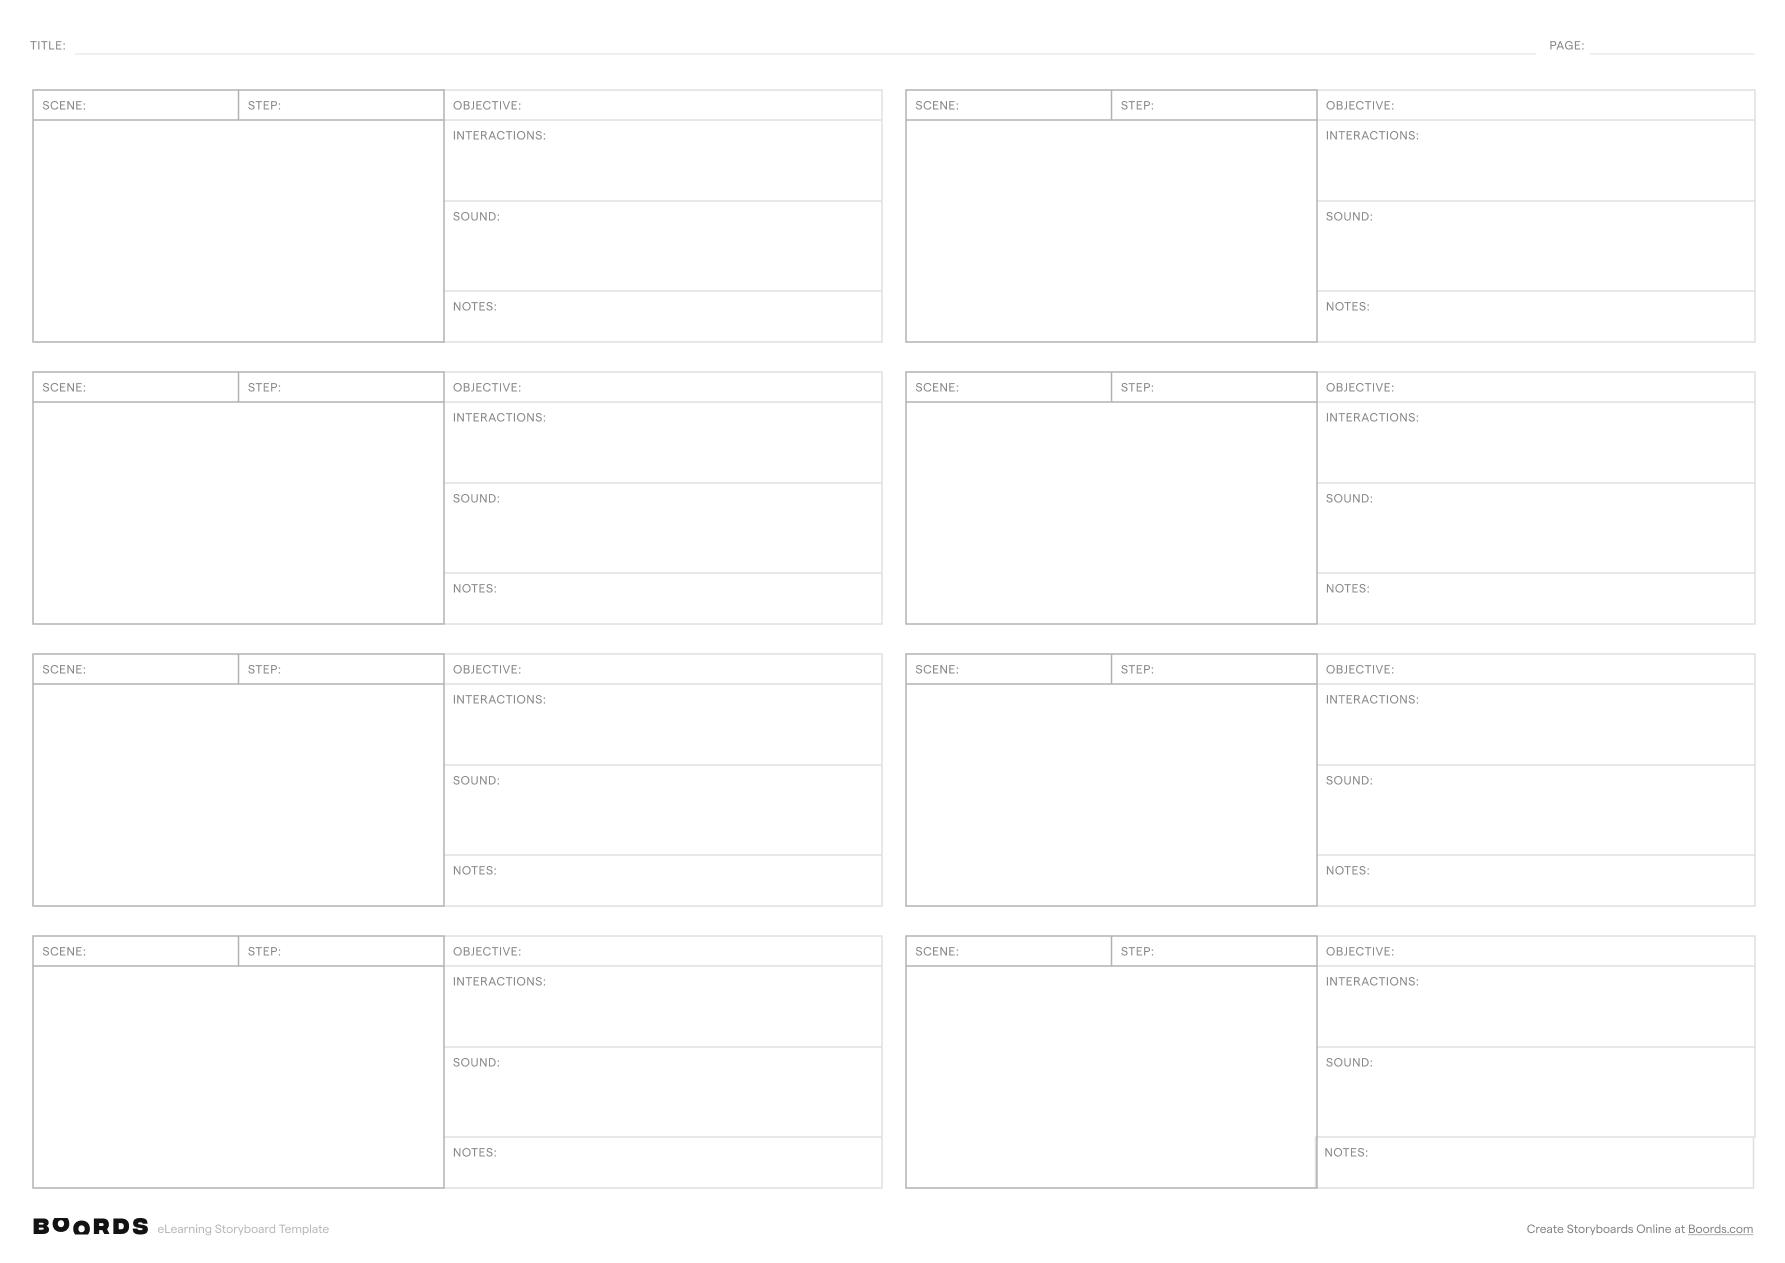
In the "TITLE:" field at the top of the template, provide a clear and descriptive name for your motion design project. The title should concisely convey the subject matter or purpose of the video.
Step 2: Name the Scenes

In the "SCENE:" column, enter a short, descriptive name or label for each scene in your motion design. A scene represents a distinct section or phase of the video, typically characterized by a specific setting, topic, or visual style. Repeat the scene name for each row associated with that particular scene.
Step 3: Number the Shots

In the "SHOT:" column, assign a numeric value to represent the shot number within each scene. Shots are the individual camera angles or frames that make up a scene. Number the shots sequentially (1, 2, 3...) within each scene to maintain a clear order and structure.
Step 4: Describe the Visuals

In the "DESCRIPTION:" field, provide a detailed written description of the key visual elements, graphics, text, characters, or other components that will appear on screen during each shot. Be specific and include any important details that will guide the visual design process.
Step 5: Specify Animations and Effects

In the "ANIMATION/VFX:" field, describe any animations, transitions, visual effects, or motion graphics that will be applied to each shot. This may include things like text animations, character movements, background transitions, or special effects. Be as detailed as possible to ensure the intended visual style is achieved.
Step 6: Include Script or Voiceover

If your motion design project includes a voiceover narration or scripted dialogue, use the "SCRIPT/VOICEOVER:" field to write out the exact words that will be spoken during each shot. Make sure the script aligns with the visual content and timing of the shot.
Step 7: Add Timing Notes

In the "TIMING/NOTES:" field, specify the desired duration or timing for each shot, as well as any additional notes, cues, or instructions related to the timing of the animations, effects, or voiceover. This will help ensure the final video flows smoothly and the various elements are synchronized correctly.
Step 8: Review and Refine
After completing the storyboard template for each scene and shot, carefully review the entire document from beginning to end. Check for consistency, clarity, and coherence across all the scenes. Make any necessary revisions or adjustments to improve the flow, visual impact, and overall effectiveness of the motion design. The finalized storyboard will serve as a detailed roadmap for the production process.
