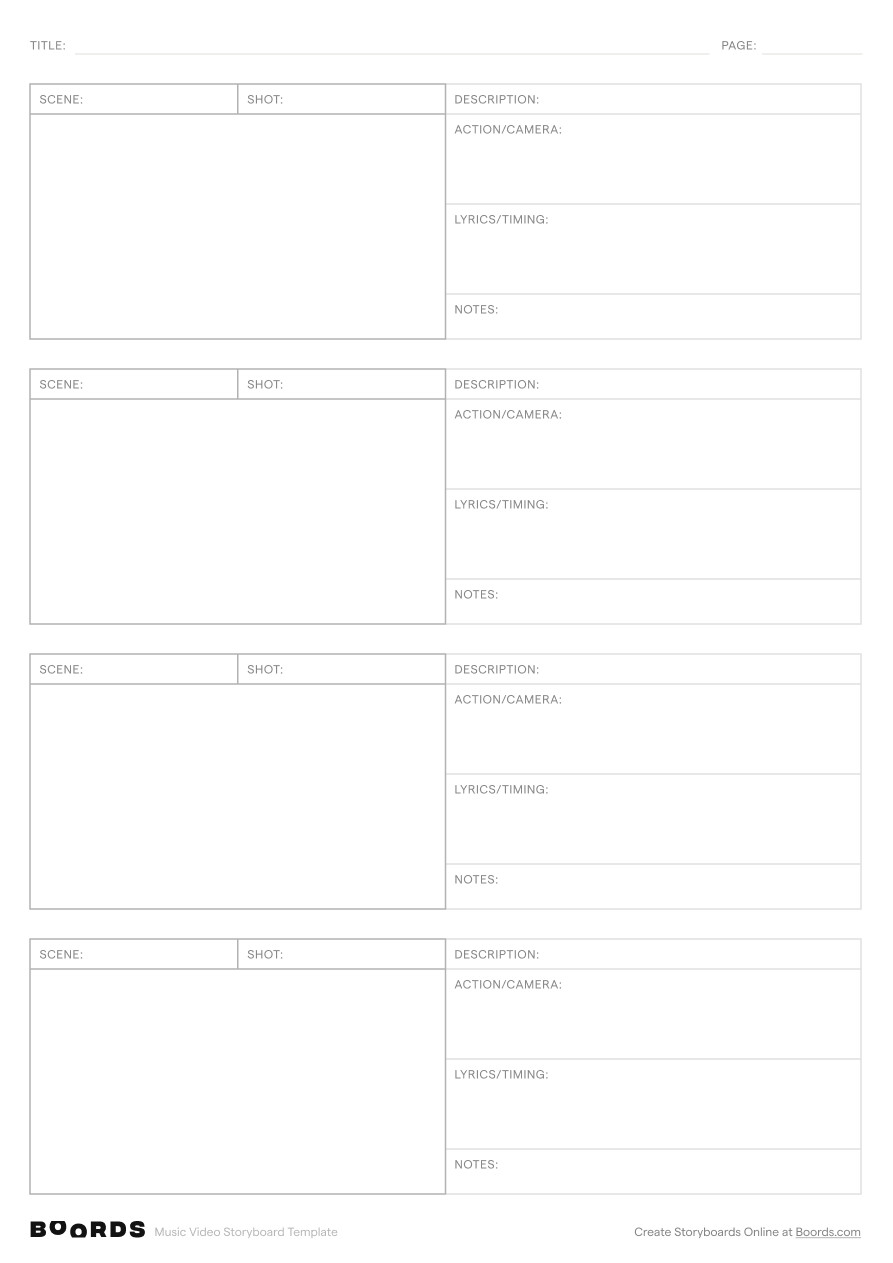
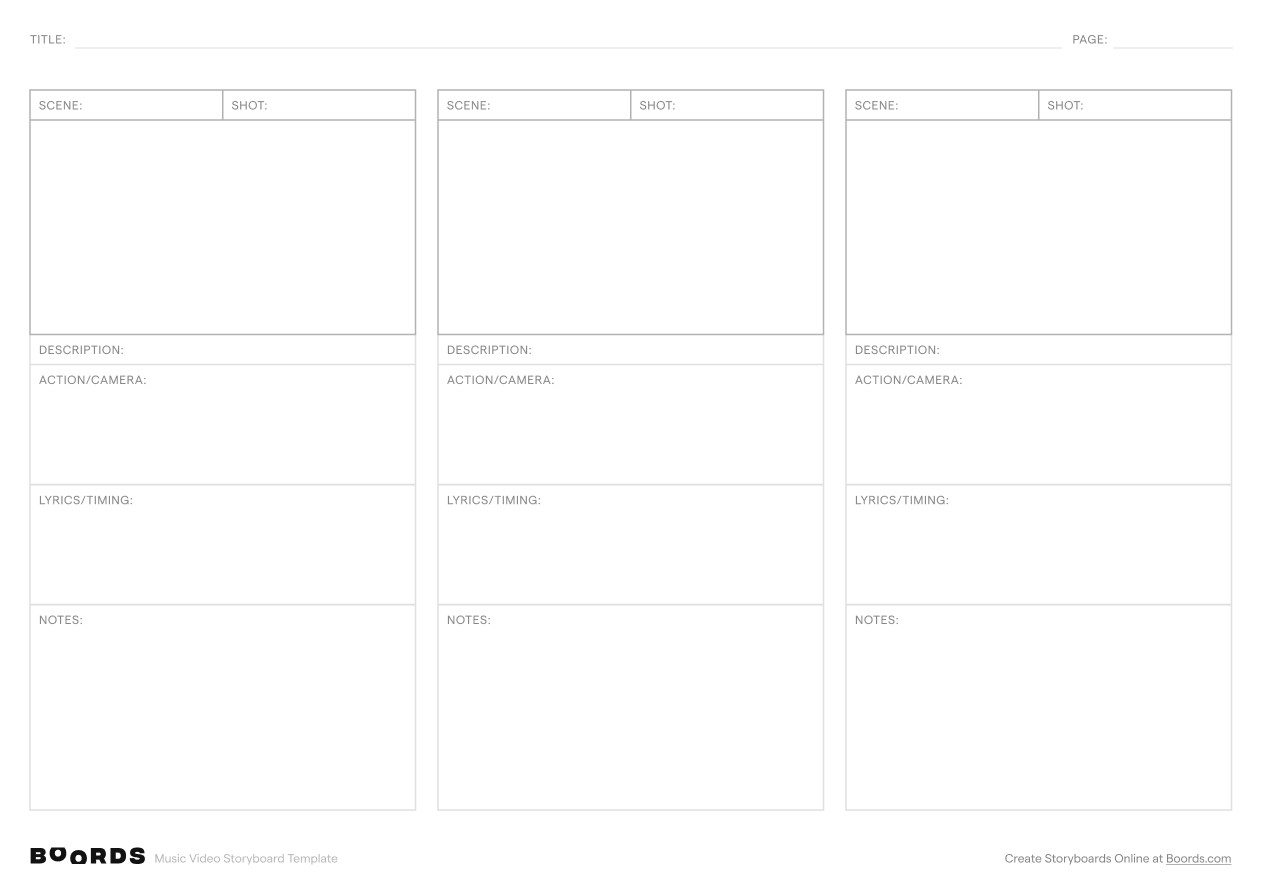
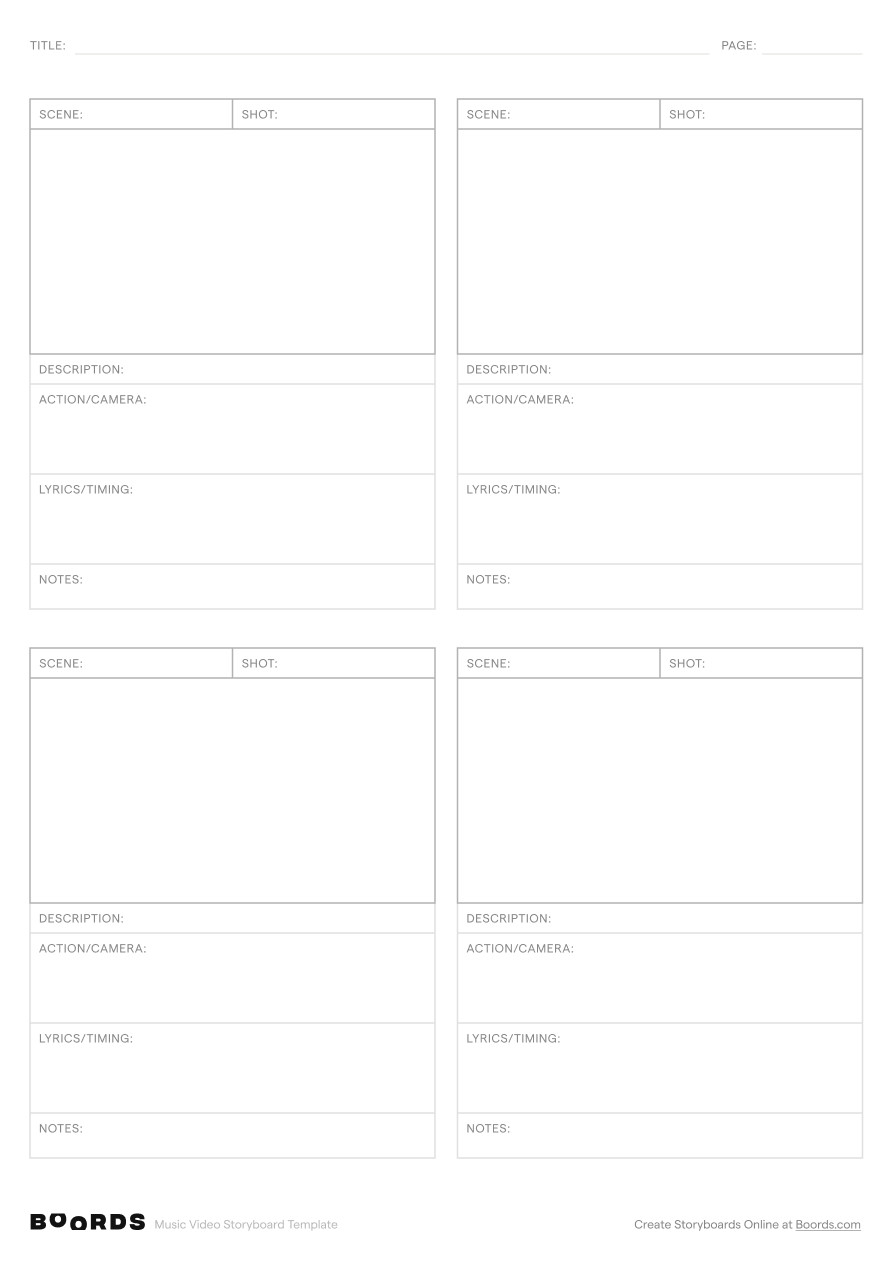
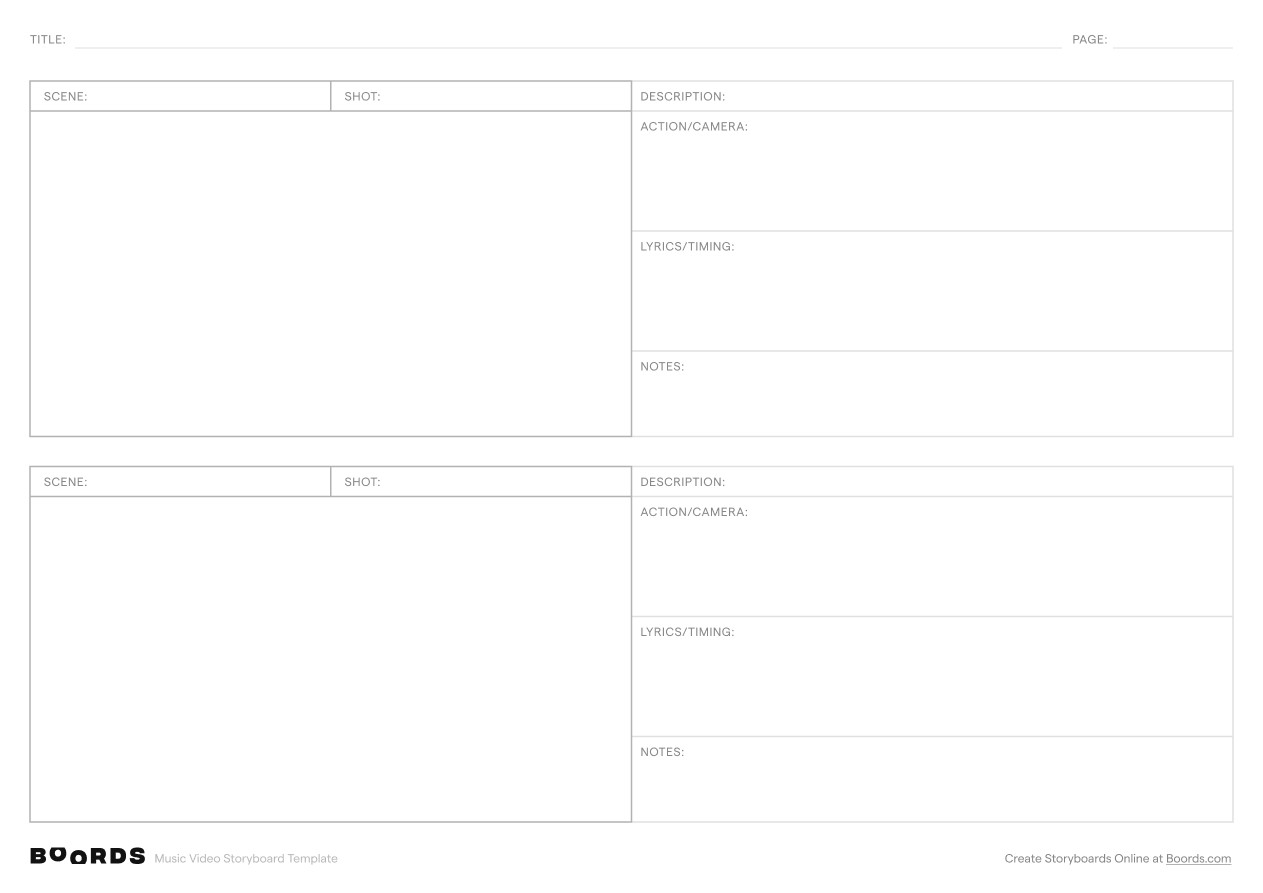

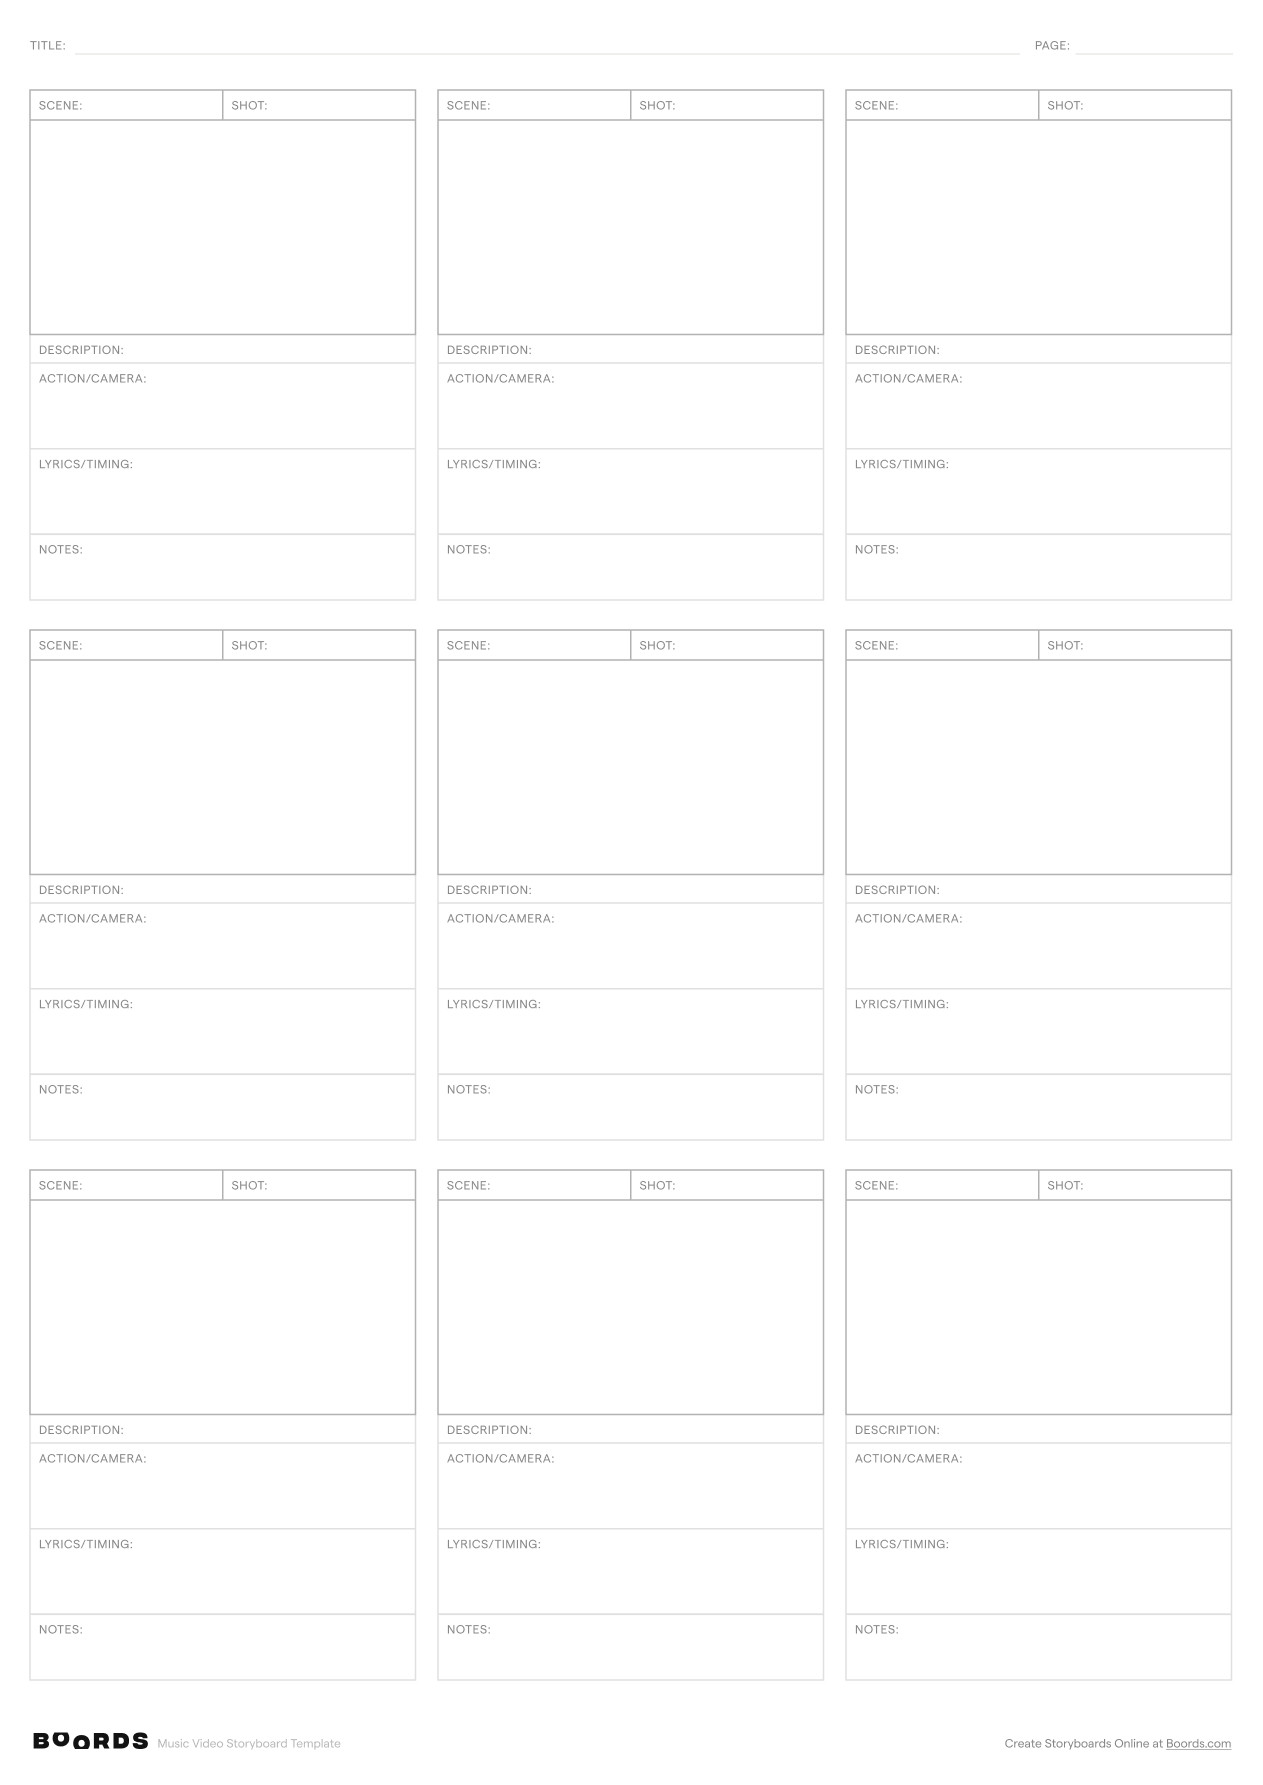
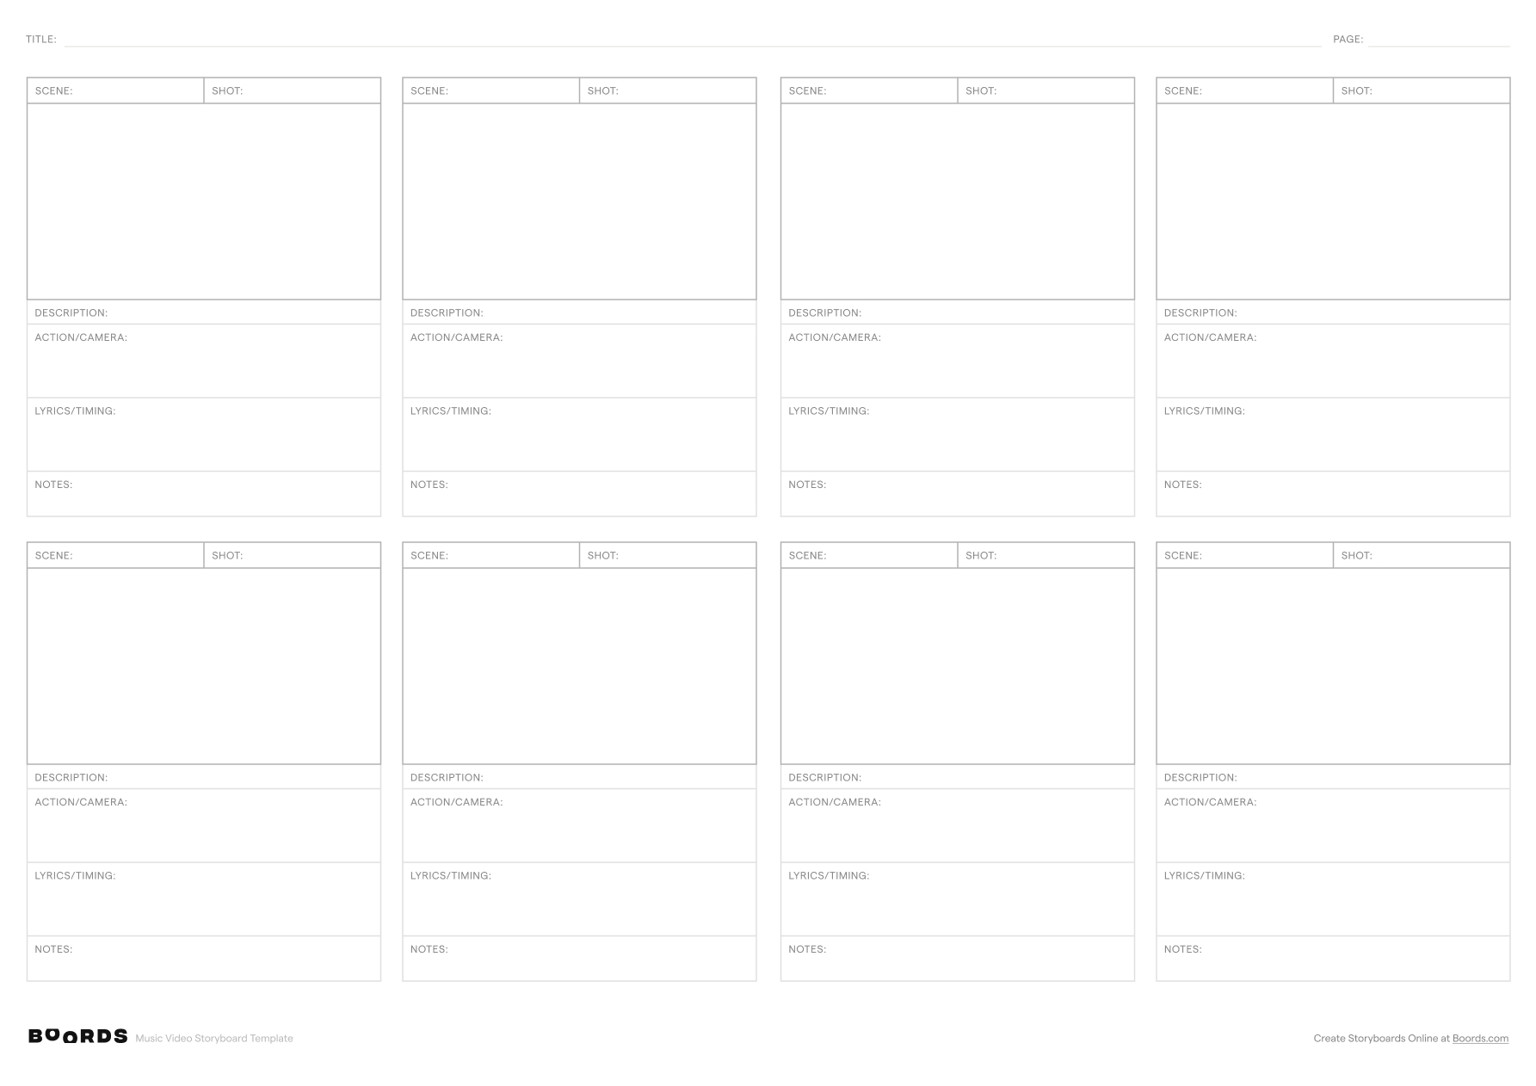
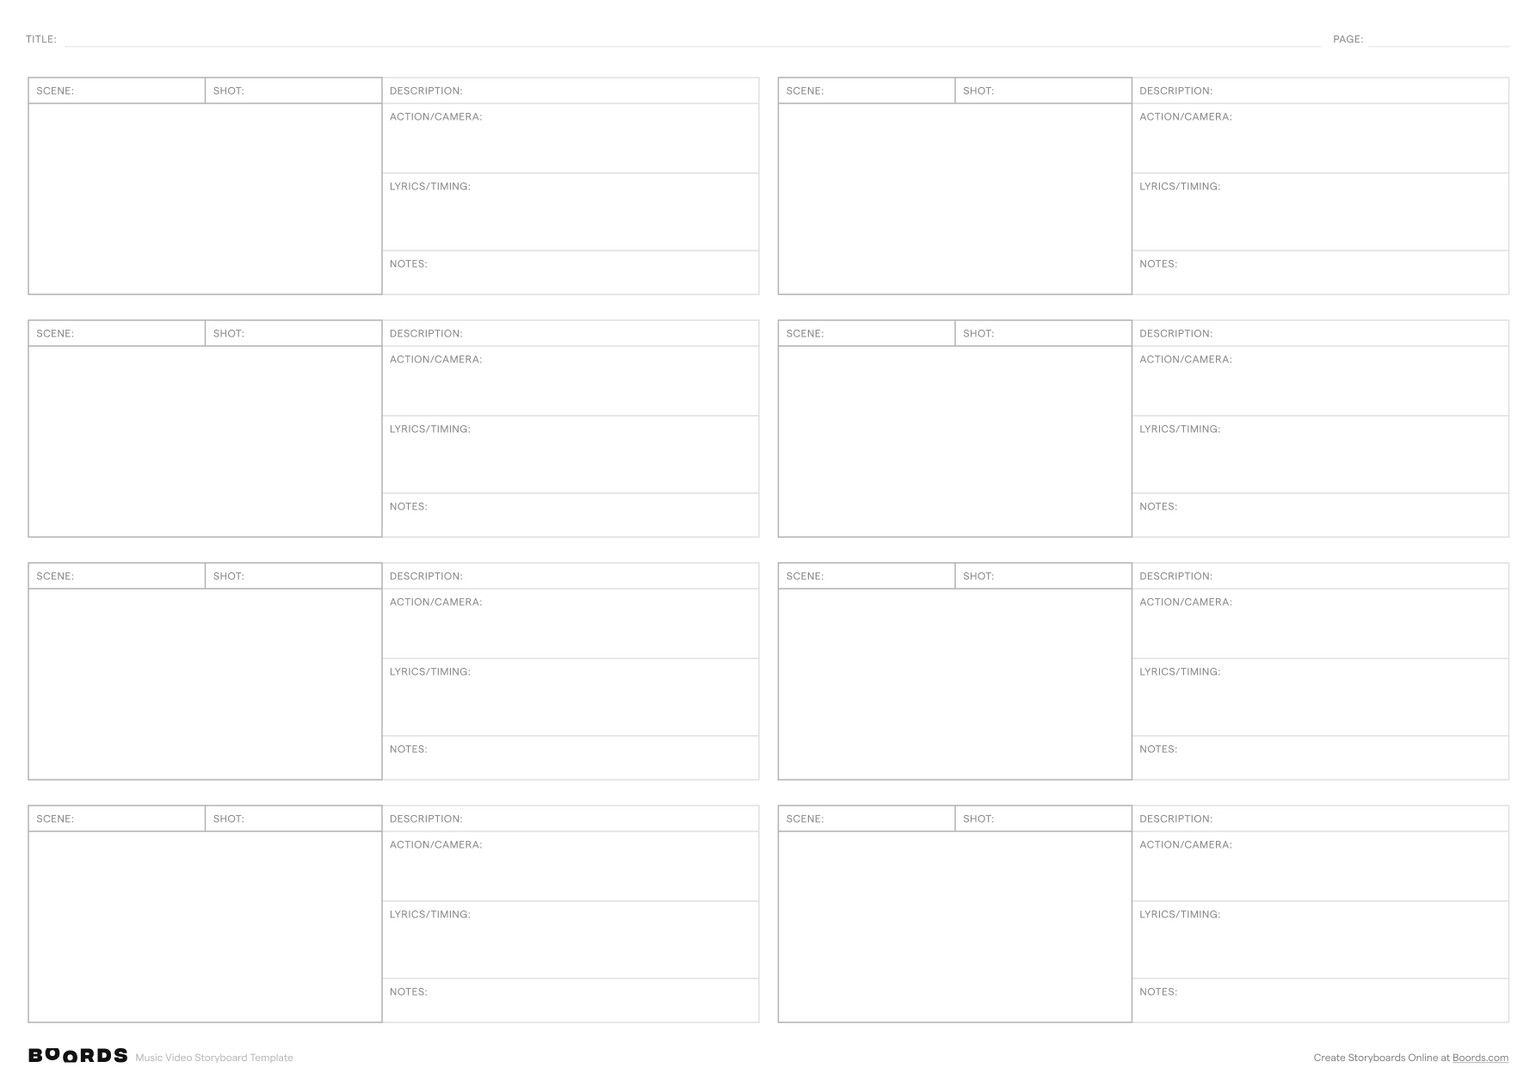
Step 1: Add the Title and Page Number
Begin by filling in the "TITLE:" field at the top of the template with the name of your music video project. If your storyboard spans multiple pages, make sure to include the corresponding page number in the "PAGE:" field to keep your documents organized.
Step 2: Identify the Scenes
In the "SCENE:" column, provide a brief, descriptive label for each scene in your music video. A scene represents a specific location, setup, or narrative segment. If a scene consists of multiple shots, repeat the scene label for each associated shot.
Step 3: Number the Shots
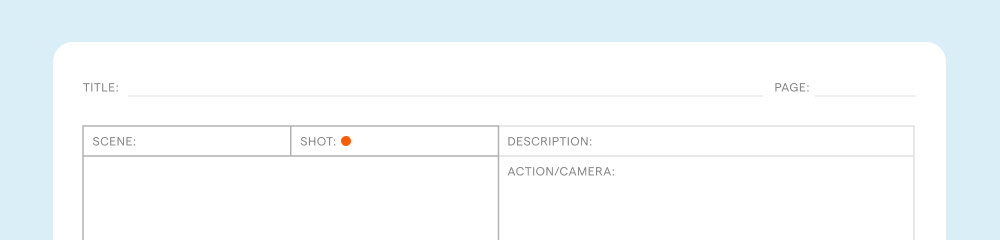
In the "SHOT:" column, assign a sequential number to each individual shot within a scene (1, 2, 3…). Shots are the specific camera angles, framings, or visual elements that make up a scene. Numbering the shots helps maintain a clear order and facilitates communication with your production team.
Step 4: Describe the Action
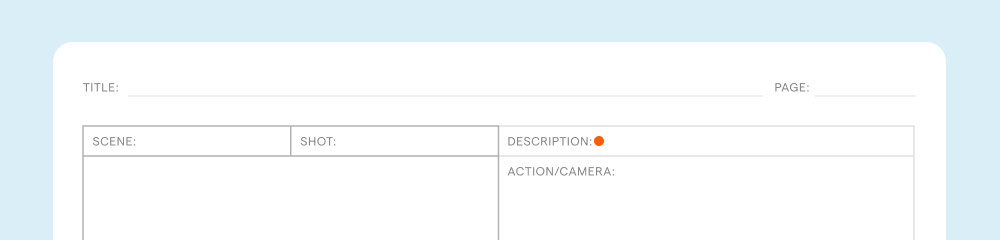
In the "DESCRIPTION:" section, briefly describe the key actions, events, or visual elements that occur in each shot. Focus on the most important aspects that drive the narrative or complement the music.
Step 5: Specify Camera Movements and Angles
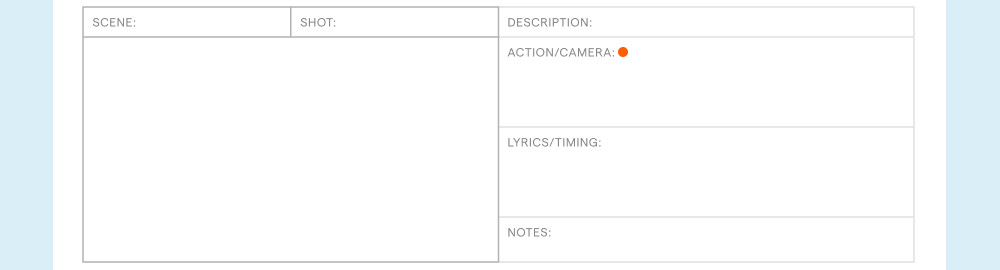
In the "ACTION/CAMERA:" subsection, specify any notable camera movements, angles, or techniques for each shot. This will guide the cinematographer and director in capturing the desired visuals for your music video.
Step 6: Specify Lyrics and Timing
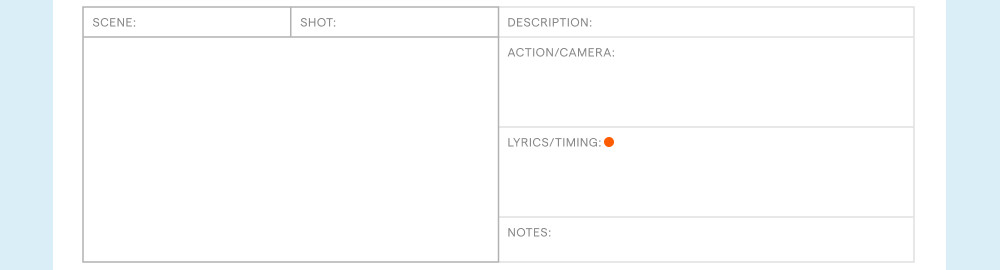
Use the "LYRICS/TIMING:" field to indicate which lyrics from the song correspond to each shot or scene. This helps synchronize the visuals with the music and ensures that the video aligns with the song's structure. If necessary, include specific timing cues or timestamps to precisely match the footage with the audio.
Step 7: Add Notes

Utilize the "NOTES:" section to include any additional comments, ideas, or directions relevant to each shot or scene. This can encompass technical requirements, artistic suggestions, props, wardrobe, or any other important details that will guide the production process.
Step 8: Review and Refine
Once you have completed the storyboard template for your music video, review the entire document from start to finish. Check for consistency in visual style, pacing, and overall flow. Make any necessary revisions or adjustments to enhance the creative vision and align the video with the song's mood and message.
Step 9: Collaborate and Execute
Share the finalized storyboard with your production team, including the director, cinematographer, and other key creative personnel. Use the storyboard as a visual roadmap to guide the filming process, ensuring that everyone is aligned on the desired shots, actions, and timing. Refer to the storyboard throughout the production to stay organized and capture all the necessary footage to bring your music video to life.