
Playground
Create characters from scratch, save them to your library and reuse them in storyboards
The Playground lets you generate characters and other assets, then save them to use in your storyboards.
Accessing the Playground
In a storyboard, open the Image Library side panel and select Create.
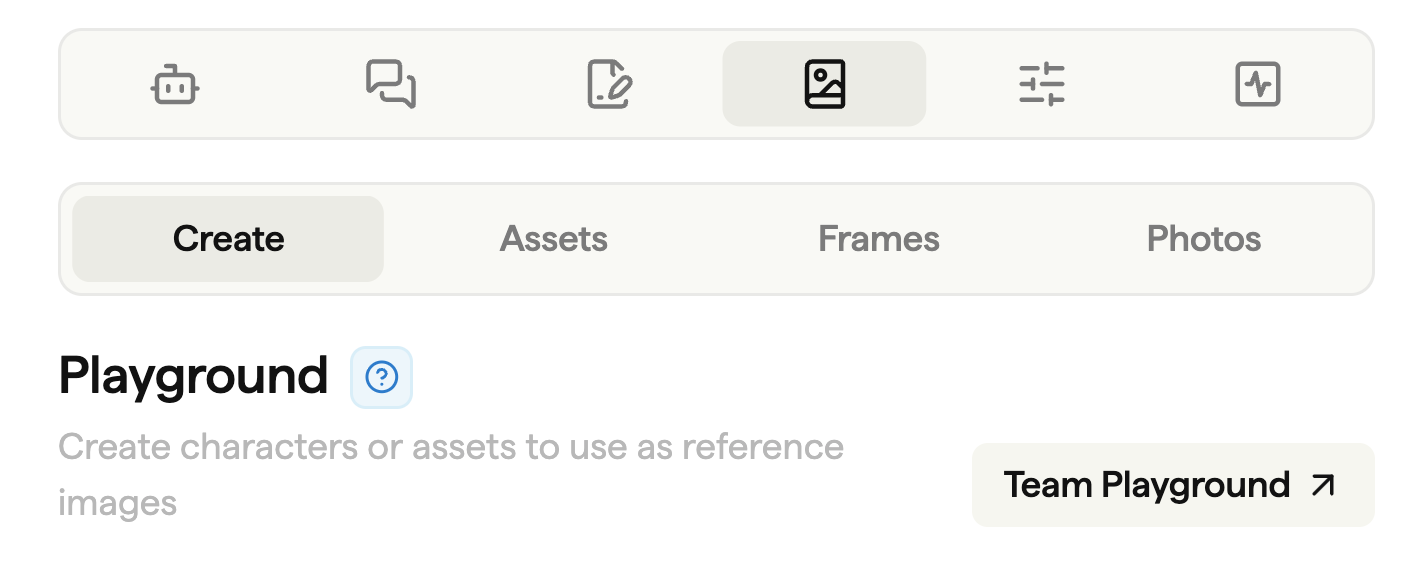
You can also open Assets from the dashboard and switch to Playground. Both places let you save images to your team's Asset Library.
Generating a character
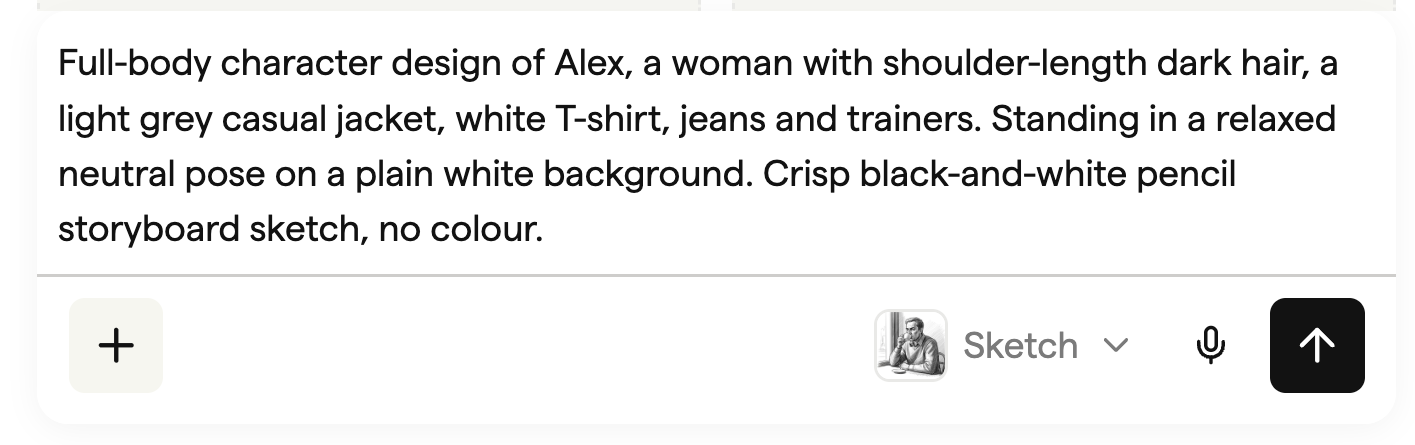
Start with a description of the character you want to create. You don't need a reference image.
- Describe their appearance, clothing and pose.
- Choose a visual style. For this example, select Sketch.
- Click the generate arrow or press Cmd/Ctrl + Enter.
For example: "Full-body character design of Alex, a woman with shoulder-length dark hair, a light grey casual jacket, white T-shirt, jeans and trainers. Standing in a relaxed neutral pose on a plain white background. Crisp black-and-white pencil storyboard sketch, no colour."
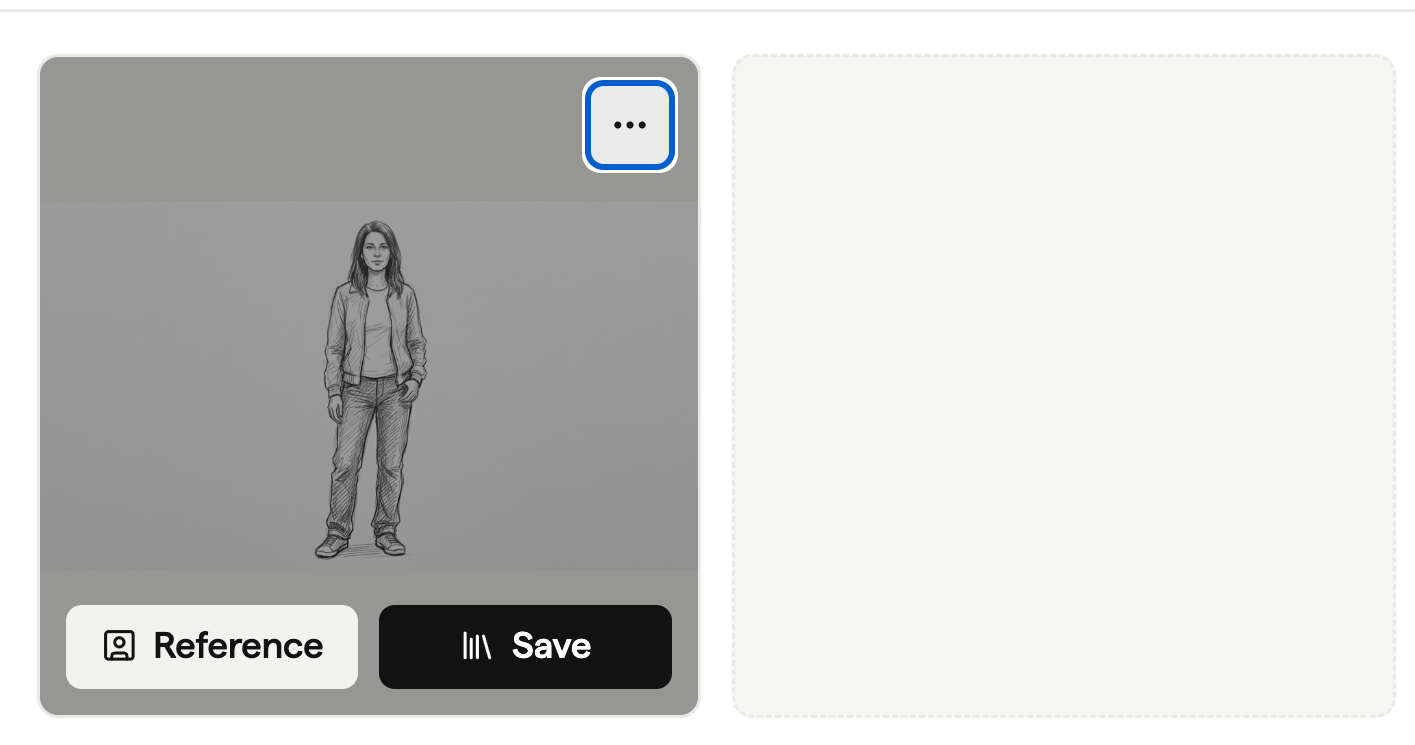
The preview appears above the prompt. Check the character's appearance before saving it.
Refining the character
To change a preview, click Reference on the image. It appears above the prompt, ready for instructions such as "Give her a shorter jacket and keep the rest the same." Generate another preview and save the version you want to reuse.
For more details on styles, see Styles & restyling.
Saving the character for later
- Click Save on the preview.
- Enter a name you will recognise. We've used Alex sketch.
- Select Characters, another folder or Unfiled. You can also create a new folder.
- Click Save in the dialog.
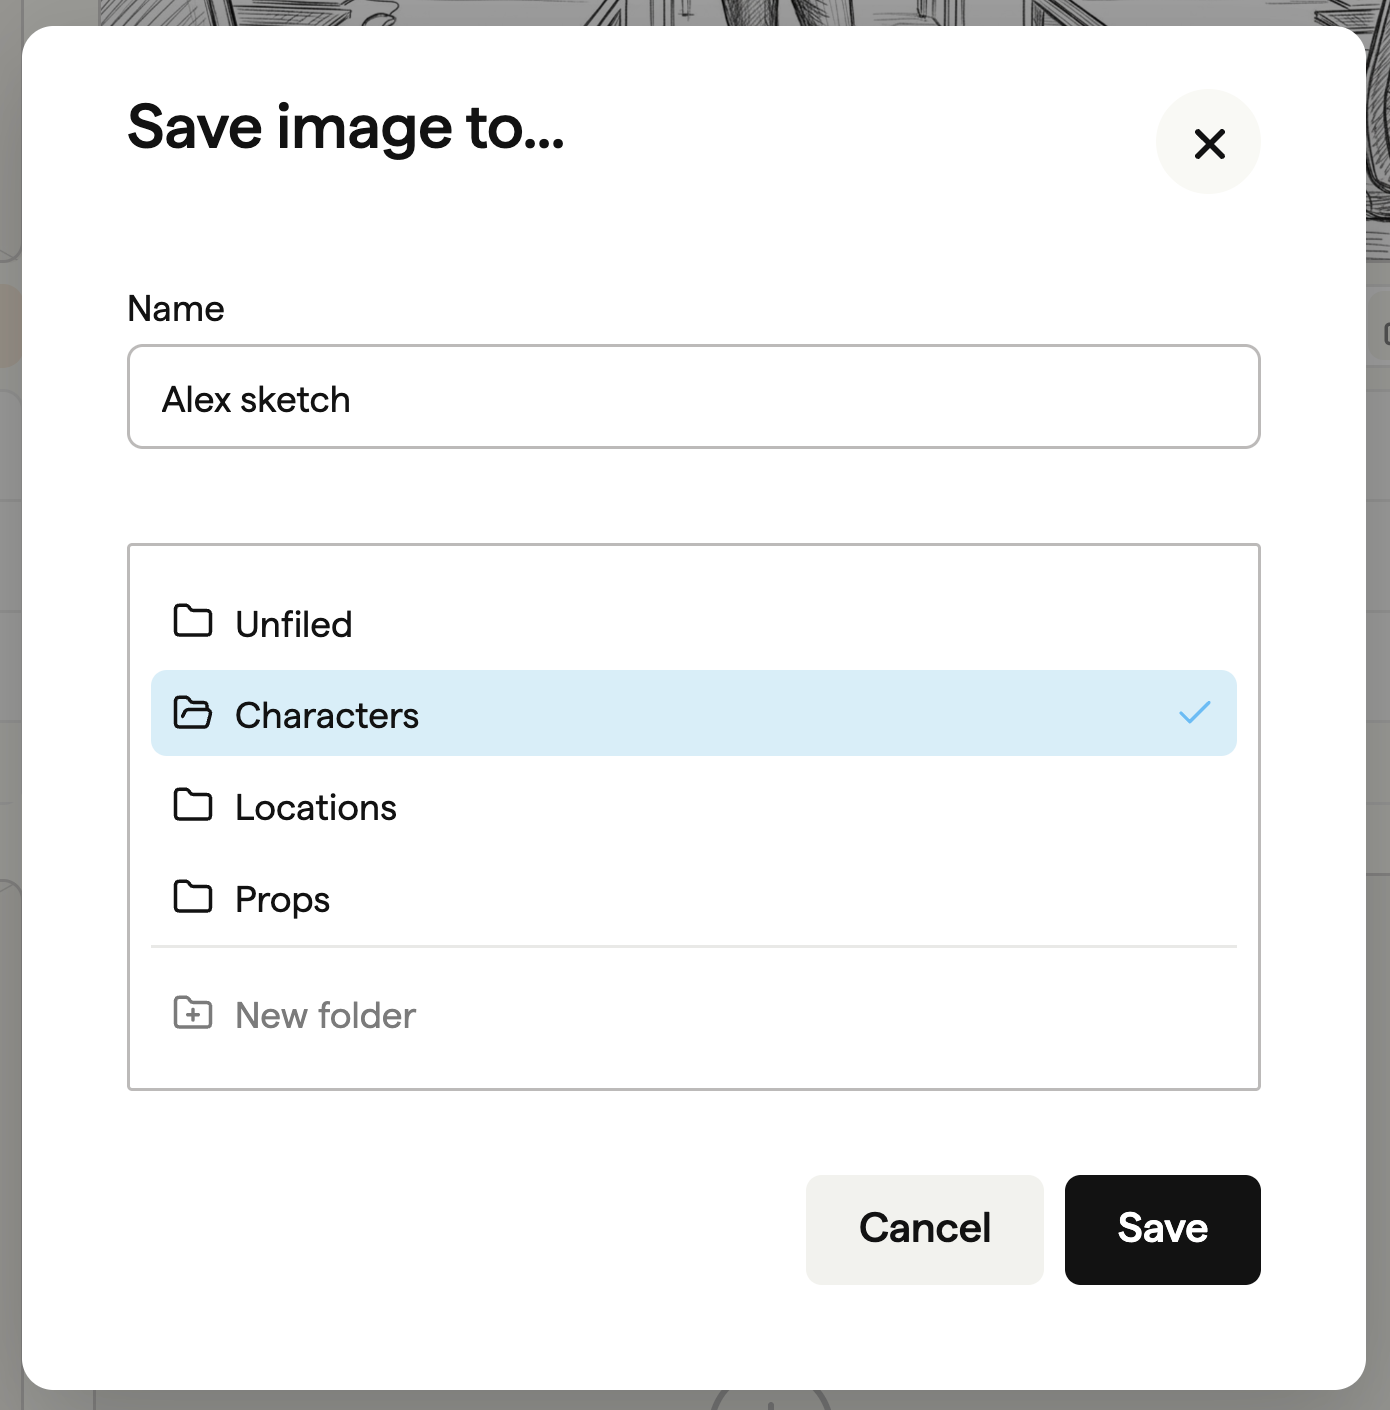
Your character is now in the team's Asset Library, ready to use across projects. Find it under Assets in the dashboard or in the storyboard's Image Library → Assets tab.
Using a saved character
Open a frame's image generator and type @ in the prompt. Select your saved character, then describe the scene you want. For example, use Alex sketch as a reference for a shot of her waving to a colleague.
See Using @mentions for the frame-generation walkthrough.
Mentioning library images in the Playground
You can also use a saved character to create more assets in the Playground. Type @, start typing its name and select it from the picker. Then describe the pose, clothing or other change you want.
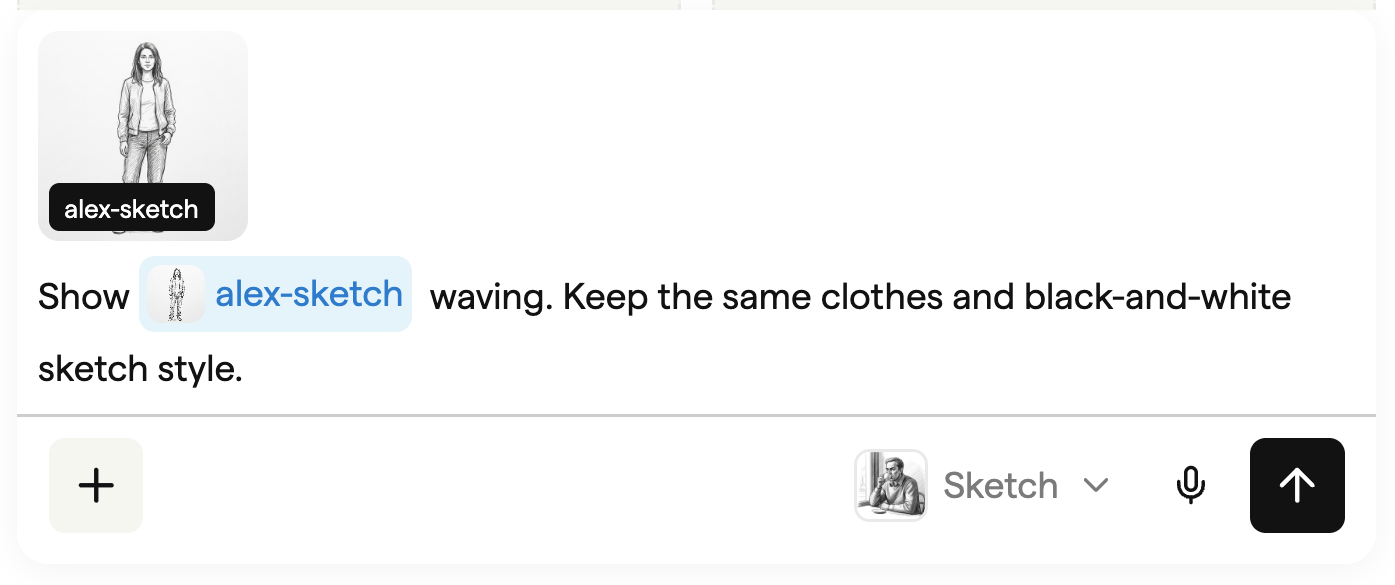
Mentions and images added through Add reference images share a limit of four content references. Remove a tag from the prompt or use the remove control on its thumbnail to remove that reference.
Only team library images appear in the mentions picker. See Asset Library for tags and moving project images into the library.
Other image actions
In a storyboard's Playground, open a preview's three-dot menu for more options.
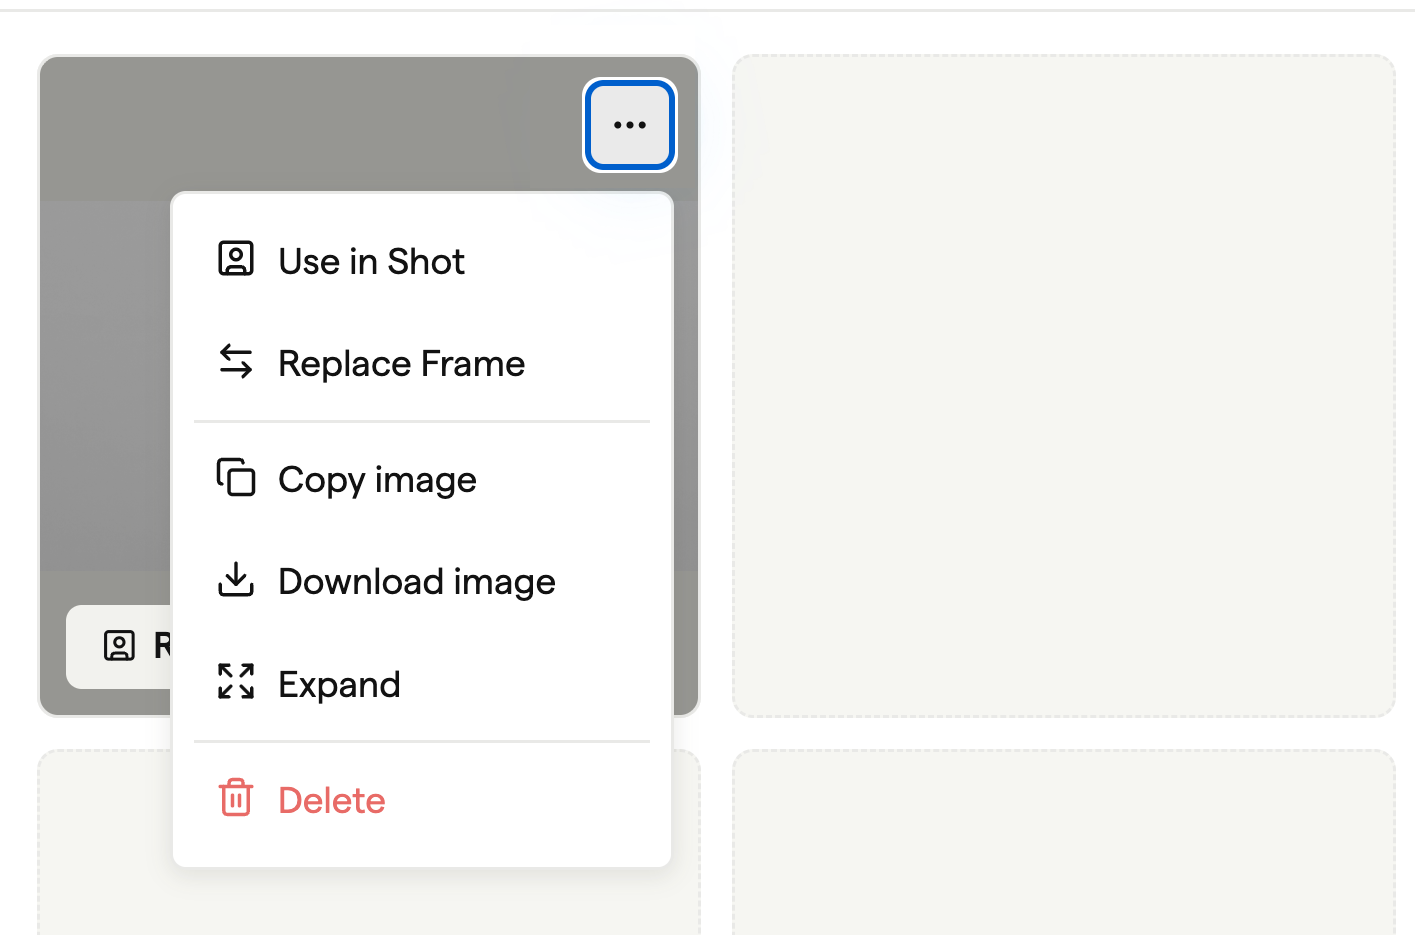
Use in Shot
Choose Use in Shot to save the preview and add it as a reference for the storyboard's image generator. Describe the scene you want to create with that character.
Replace Frame
Choose Replace Frame to use the preview directly as a storyboard frame. Select a frame from the popover and confirm. This updates its image while keeping its text and comments.
Copy, download or expand
Use Copy image, Download image or Expand from the menu to copy the image, save a local file or inspect a larger preview.
Discarding images
Choose Delete to remove a preview from the Playground. This doesn't affect images you've already saved to your assets or used in frames.
Understanding credits
Generating preview images in the Playground is free. You can experiment and create variations before choosing what to keep.
Saving or using a preview costs one credit through Save, Use in Shot or Replace Frame. If you run out of credits, you can purchase more or wait for your monthly allocation to refresh.
Tips for reusable characters
- Use a plain background so the character is easy to see.
- Describe clothing and appearance clearly to establish details you want to keep.
- Save your chosen version before using it across scenes.
- Reference the saved character when generating new shots to help maintain their appearance.