
Generating images
Generate images with prompts, @mentions and reference images
The Generate sidebar is the primary surface for creating and editing storyboard frame images in Boords. Open it from any frame to sketch a layout, prompt a new frame, edit part of an existing image, change the artwork style, or reframe the shot. Every generation is saved as a frame revision, so you can page back through the history at any time. See Frame revisions for how revisions work.
Use reference images to carry the same characters, locations and props from frame to frame. You can select saved images with @ in your prompt or attach them through the reference picker.
The Generate sidebar
Open any frame and switch to the Generate tab in the sidebar. Generate has three sub-tabs:
- Canvas for sketch-to-frame composition, prompting a frame from scratch, and editing parts of an existing image.
- Camera for reframing the current image to a new angle, height, or distance.
- Restyle for changing the artwork style of the current image without rebuilding it.
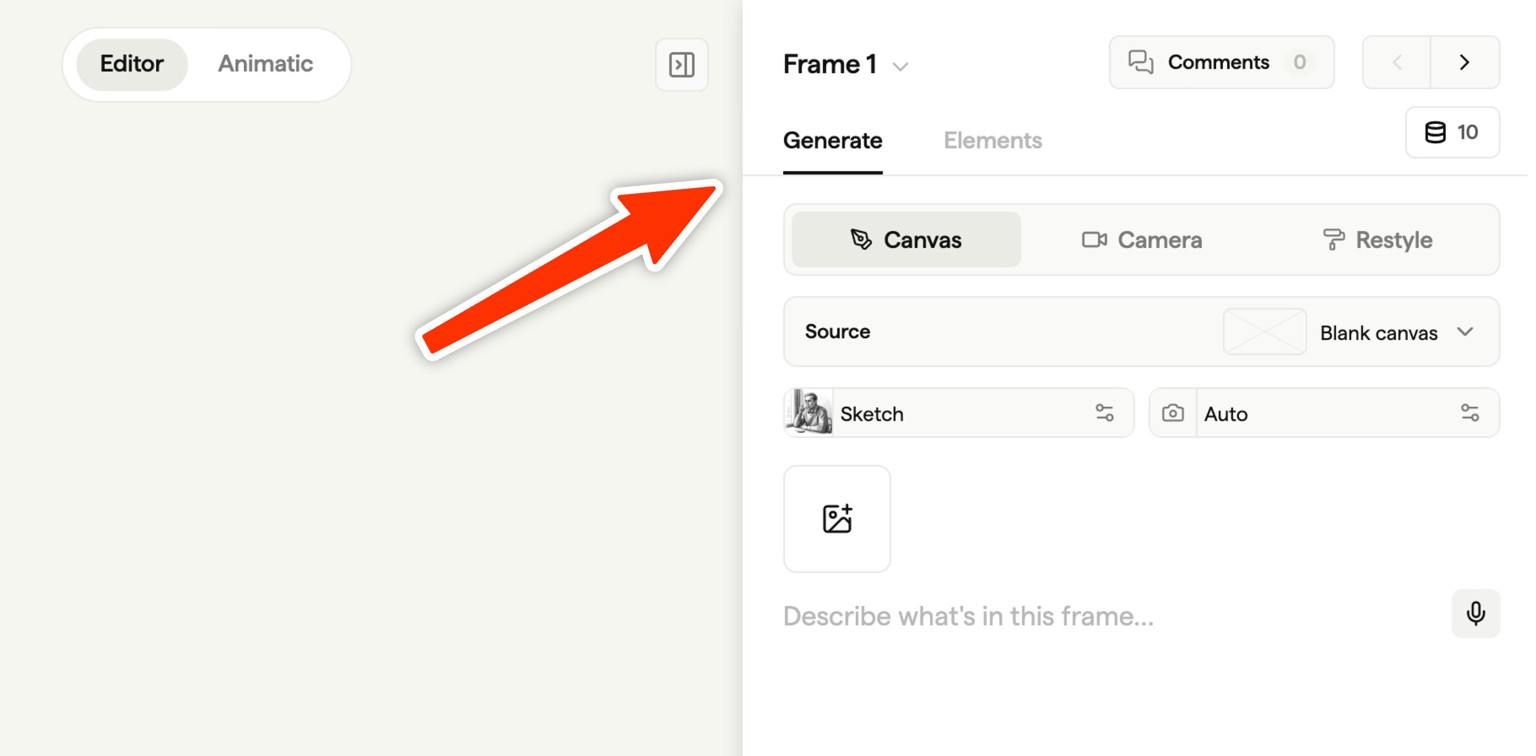
This guide focuses on Canvas. See Styles & restyling for Restyle, and the Camera sub-tab section below for reframing.
Canvas
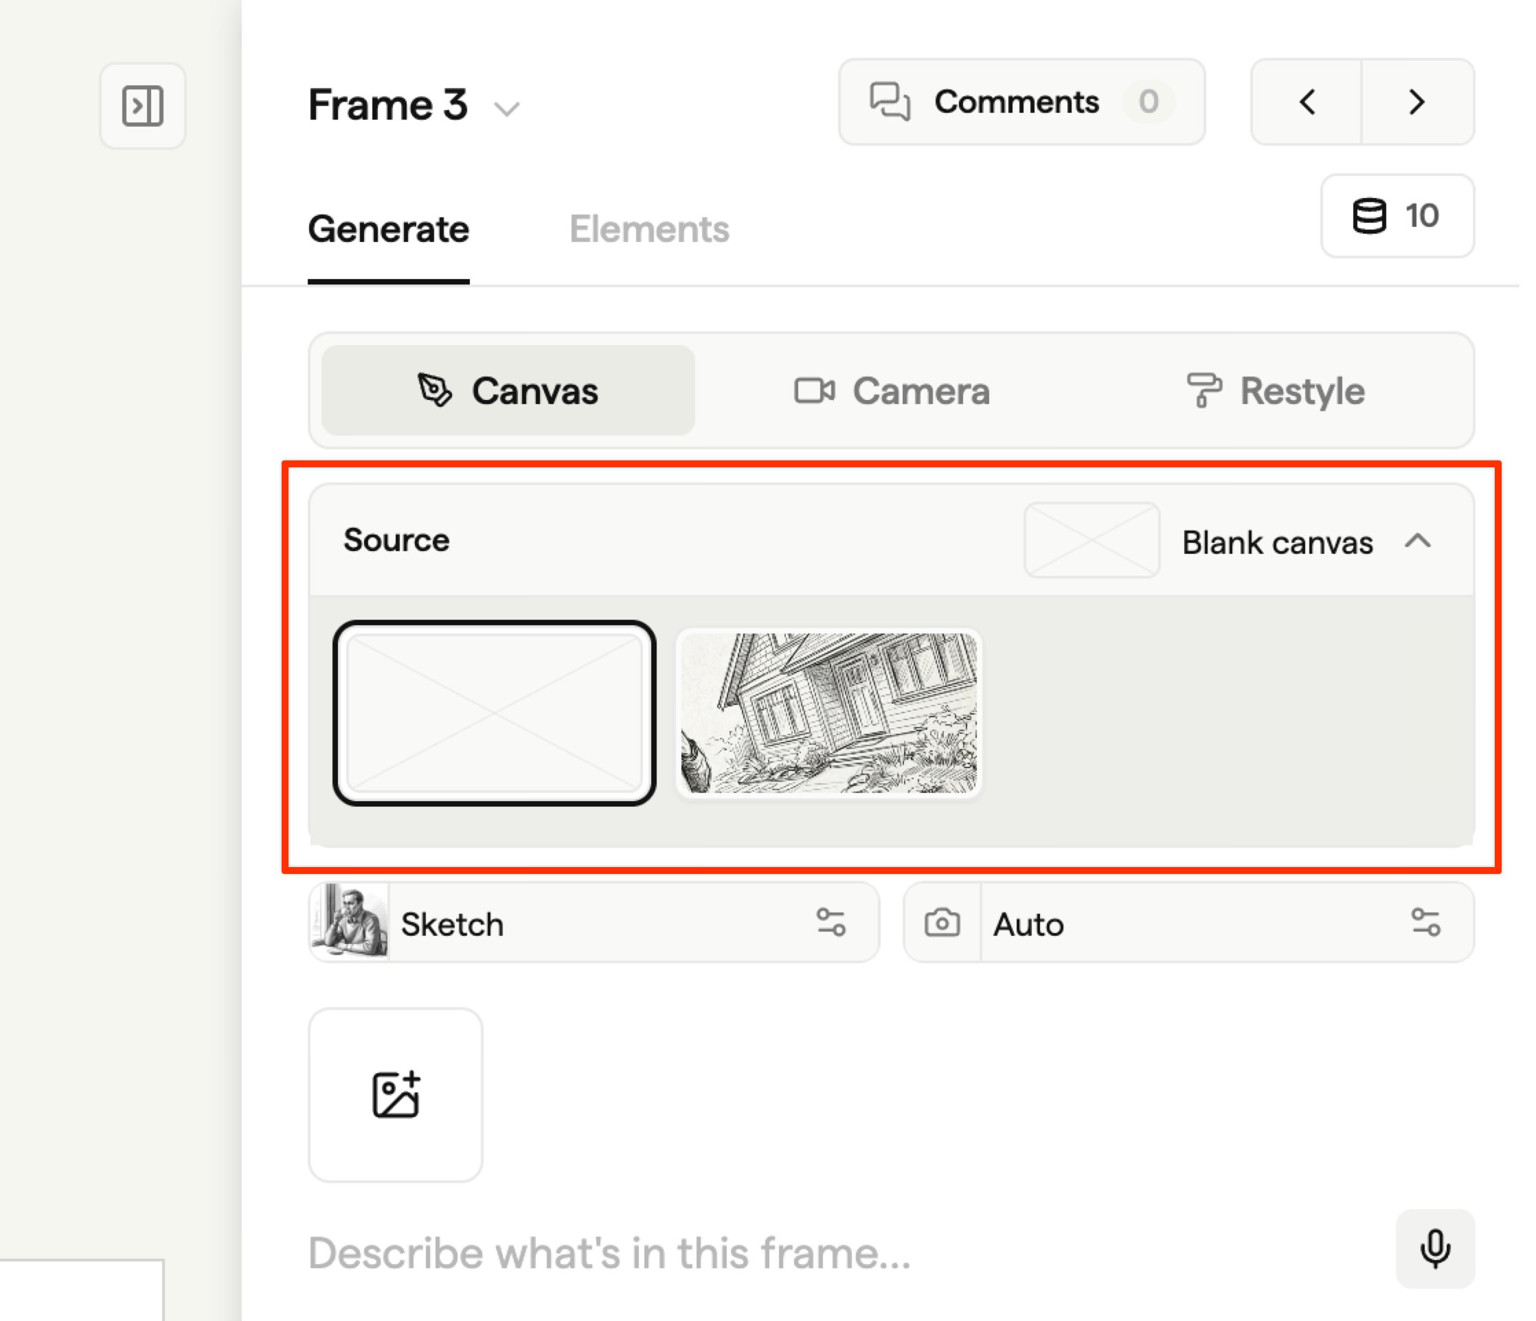
Canvas is the main generation surface. It works in three modes, switched by the Source picker at the top of the panel.
| Source | What it does |
|---|---|
| Blank | Generate a new image from scratch using your brush layout and prompt |
| Current | Edit the current image in this frame by brushing over the region to change, then prompting the change |
| Another frame | Use another frame's image as a reference point for generation |
Brushing a layout
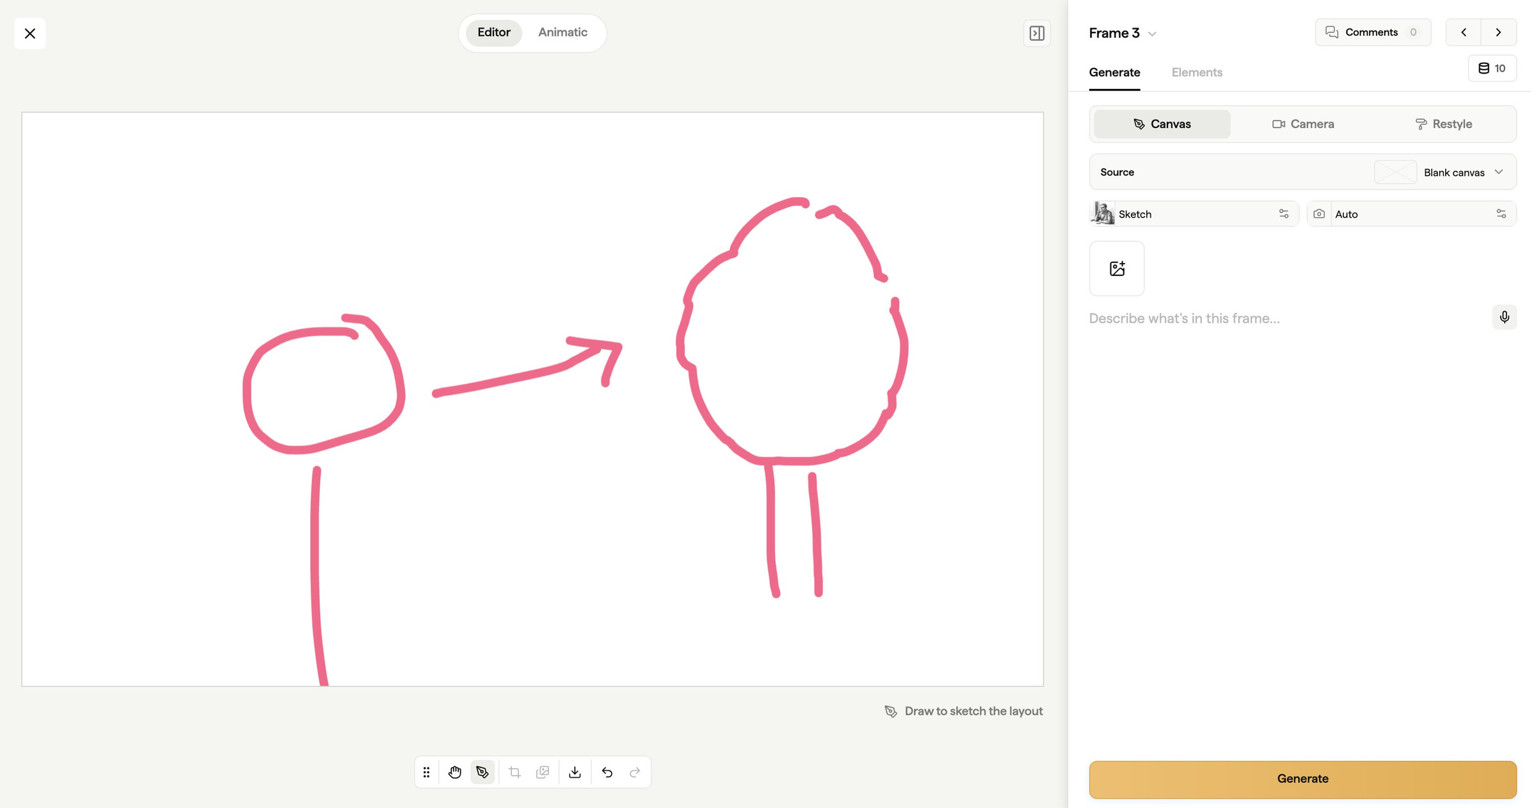
The Canvas toolbar gives you a brush, size and colour controls, and a prompt field. Block out the composition with rough shapes (stick figure for the actor, rectangle for the window, circle for the cup of coffee) and write a prompt describing what you want. The brush gives the AI a layout to follow.
Add a prompt like "woman in her thirties working at a sunlit desk, soft morning light from the left" and click Generate. The result keeps your composition while filling in the prompt's details. Iterate the prompt without losing the layout.
Editing an existing image
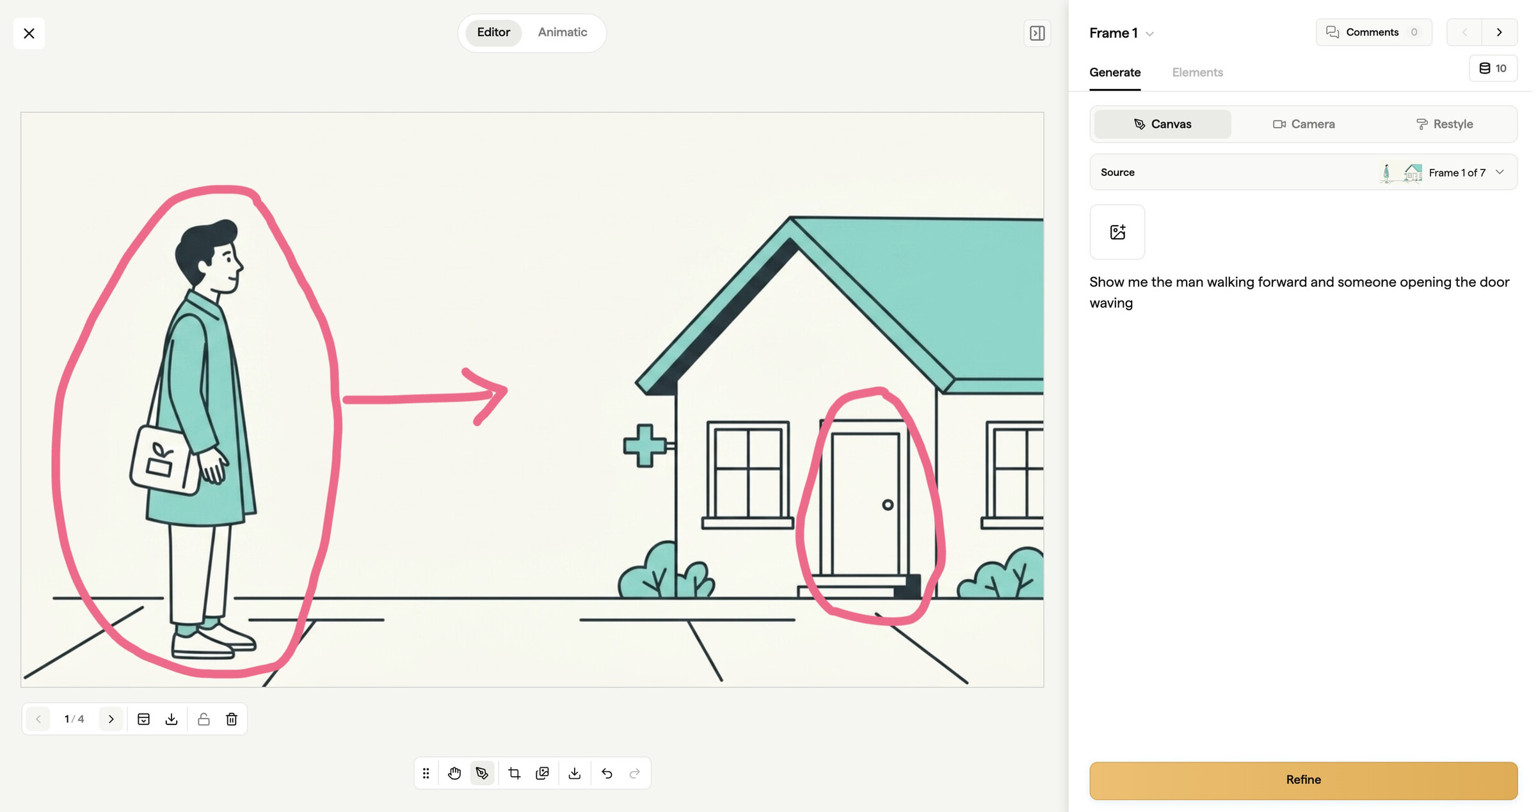
Set the Source to Current to edit the image already in the frame. Brush over the part you want to change, then prompt the change. Boords focuses the work on the brushed region and keeps everything outside it close to the original. The brush mark is a hint, not destructive. It's discarded after the request.
Useful examples:
- "Replace the man with a woman in a navy blazer."
- "Swap the coffee cup for a glass of water."
- "Remove the laptop from the desk."
The previous version is saved as a frame revision, so you can page back if the change doesn't land.
Camera reframe
The Camera sub-tab takes the current image and regenerates it from a different angle, height, or distance. Pick a preset and Boords renders the same shot from the new viewpoint. Use it when the composition is right but the camera position isn't.
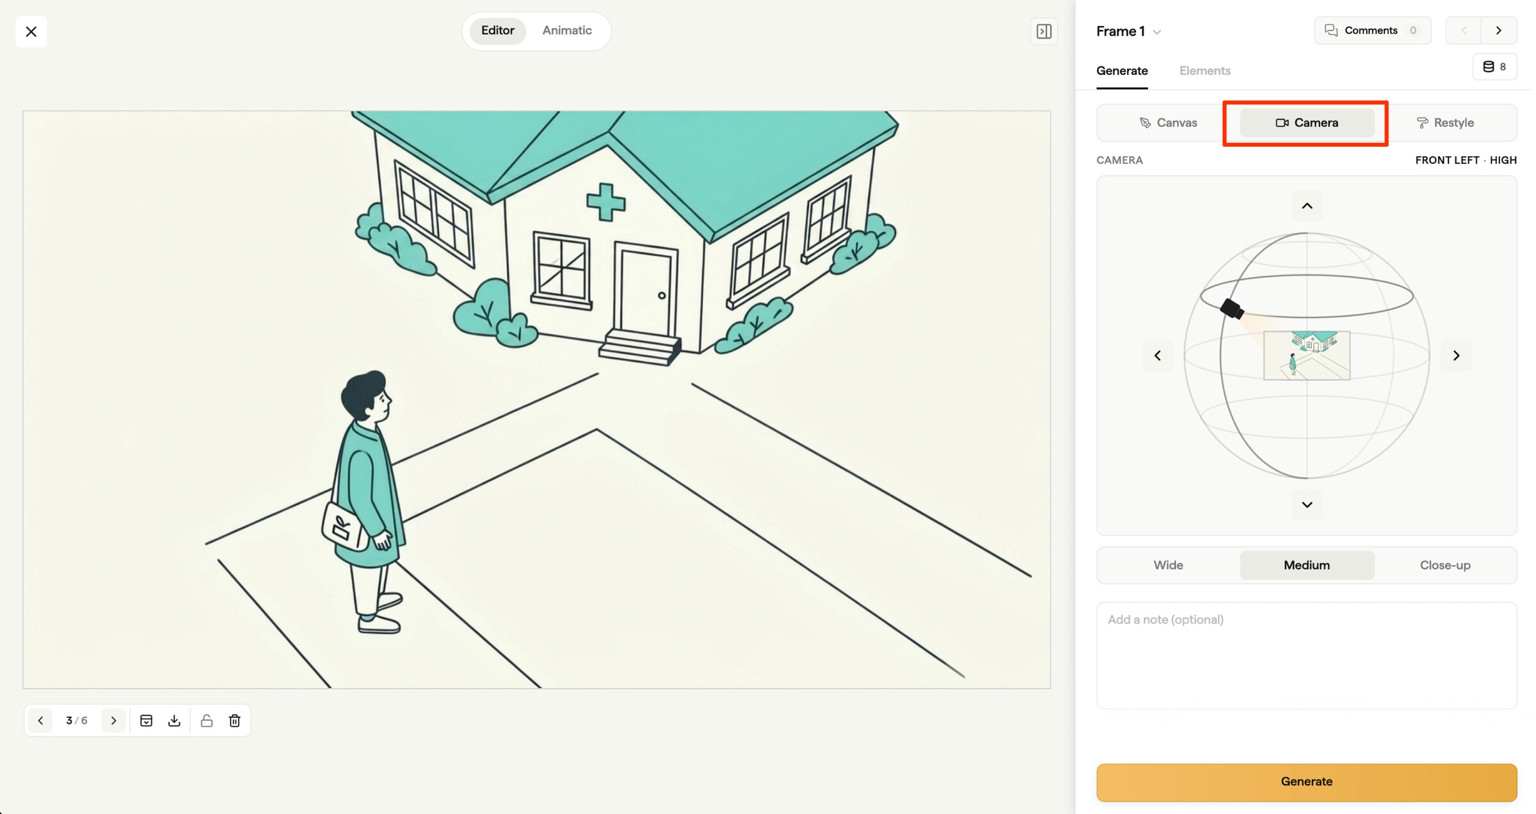
Each reframe is saved as a frame revision, so you can compare angles side by side and revert if a take doesn't land.
Get consistent images
Reference images help maintain consistency across your storyboard. You can use existing frame images, generated assets, or your own uploaded files as references.
The AI doesn't automatically remember previous frames. Select an @mention or attach a reference image to show it what to reuse. Writing "the same character" without a reference doesn't identify that character.
Using @mentions
Type @ in the Canvas prompt to choose an image from your team's Asset Library.
- Type
@, then start typing the image's name or tag to narrow the list. - Browse the folders and check the image preview.
- Click the image to insert it. You can also use the arrow keys to move through the list and press Enter to select.
- Finish your prompt and generate the image.
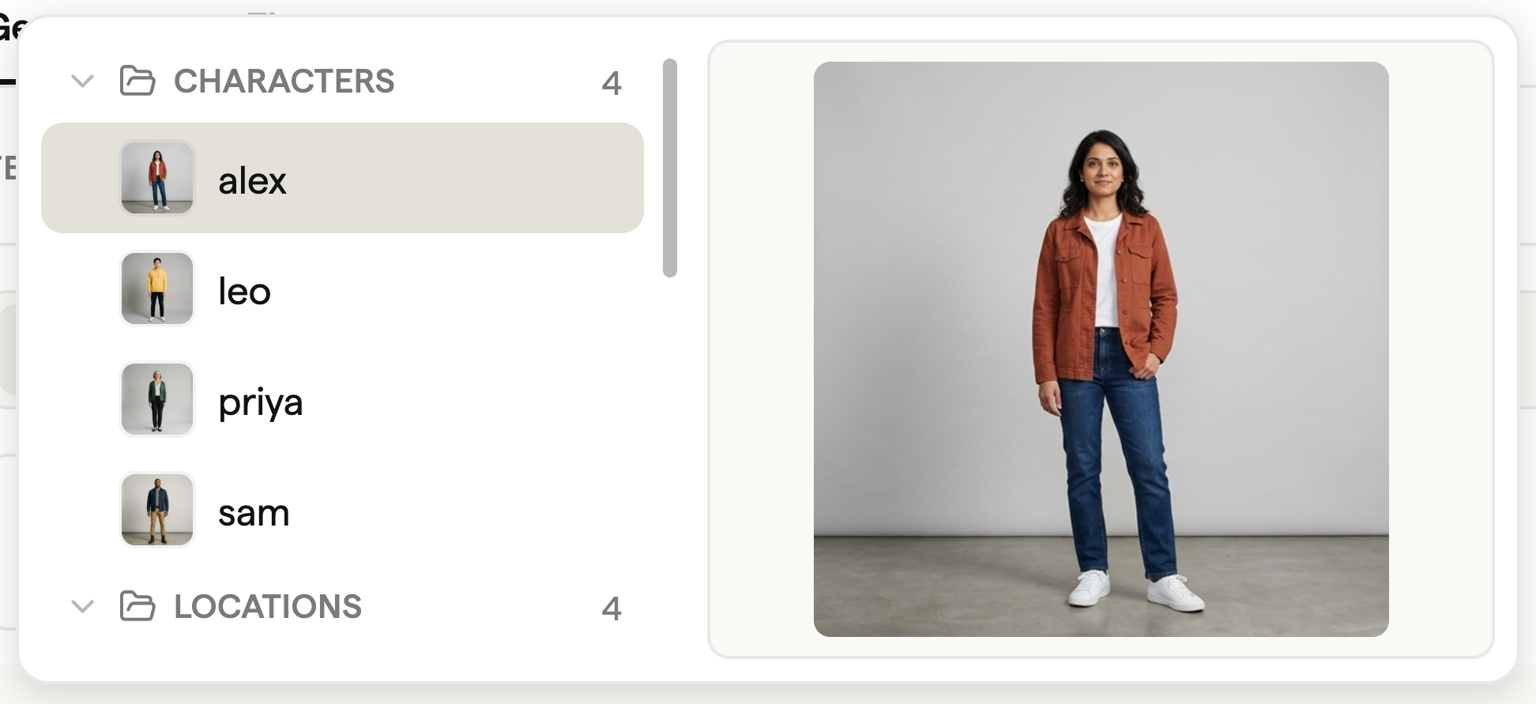
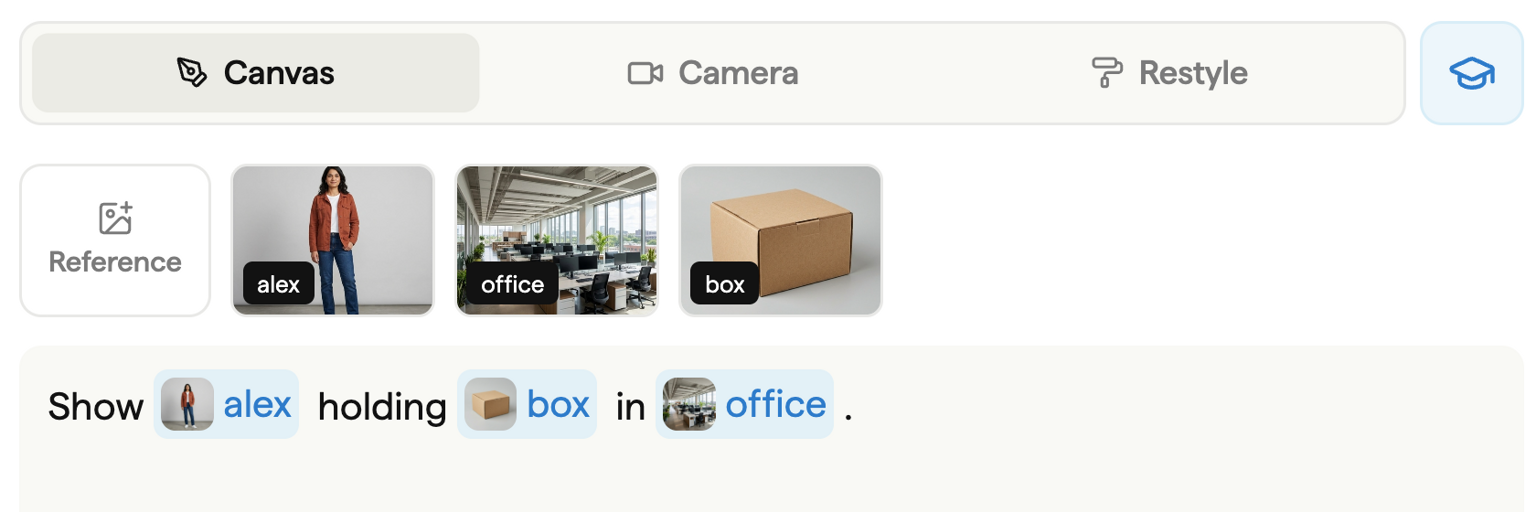
For example, write "Show @alex holding @box in @office." Select Alex, Box and Office from the picker as you write. Each selected mention appears in the prompt, with its reference thumbnail above it.
For the result below, we used the Sketch style and specified a small box held at waist height, with realistic proportions for Alex and the office furniture.
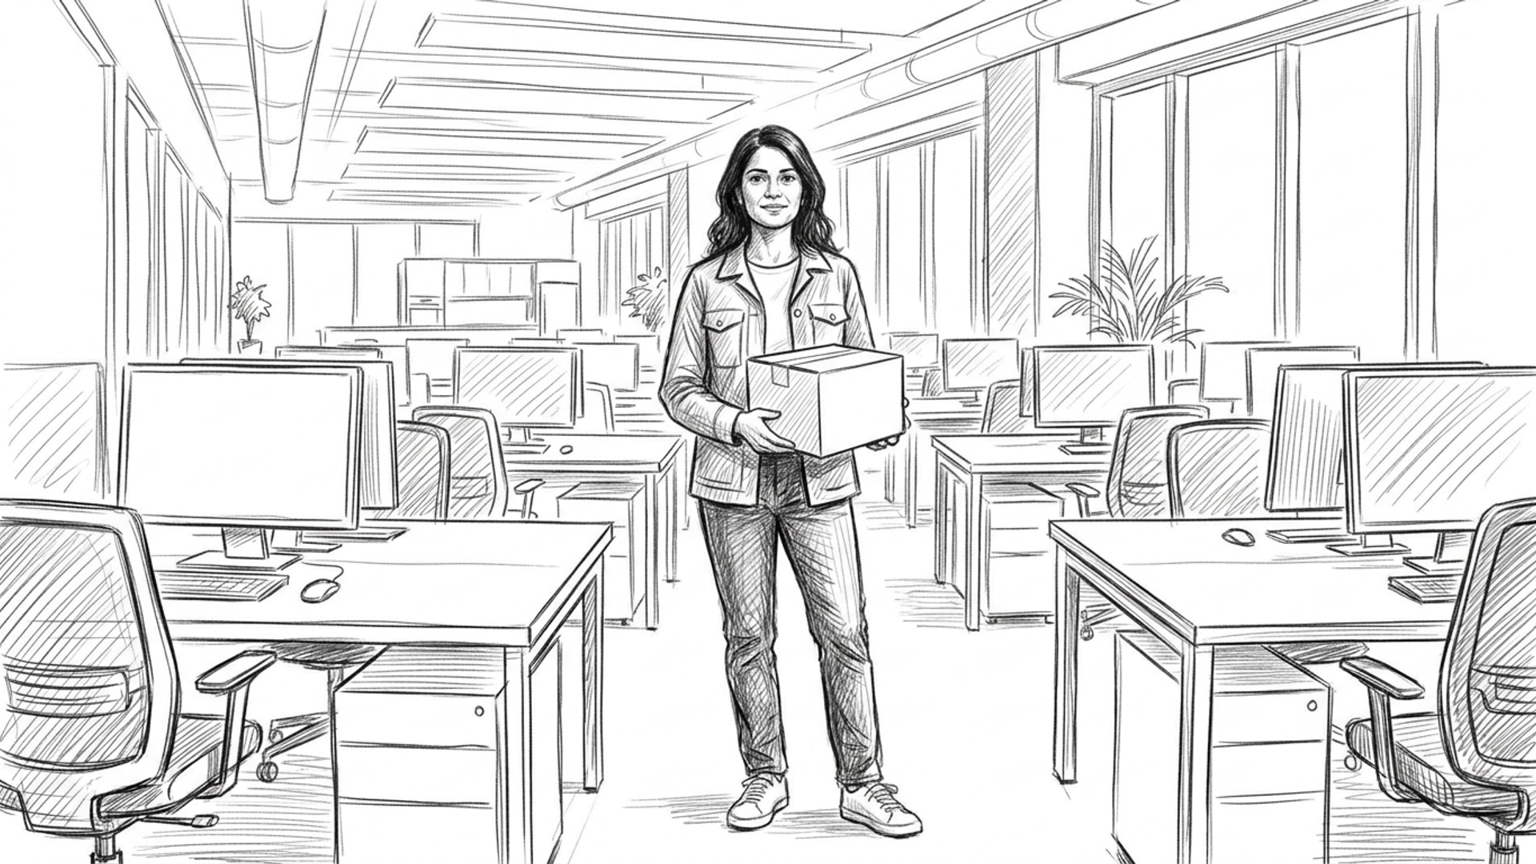
Describe what each subject should do, and add details such as the shot size or lighting. To use the same cast in another frame, select the same references in that frame's prompt.
You can use up to four content references in a generation. Mentions and images added through the reference picker share this limit. To remove a mentioned image, remove its tag from the prompt or use the remove control on its reference thumbnail.
Choose the image from the picker so Boords can attach the reference. Typing a name as ordinary text won't attach it. If an image doesn't appear, check that it is in the team's Asset Library rather than only in Project assets. See Asset Library for naming and tags.
Using reference assets
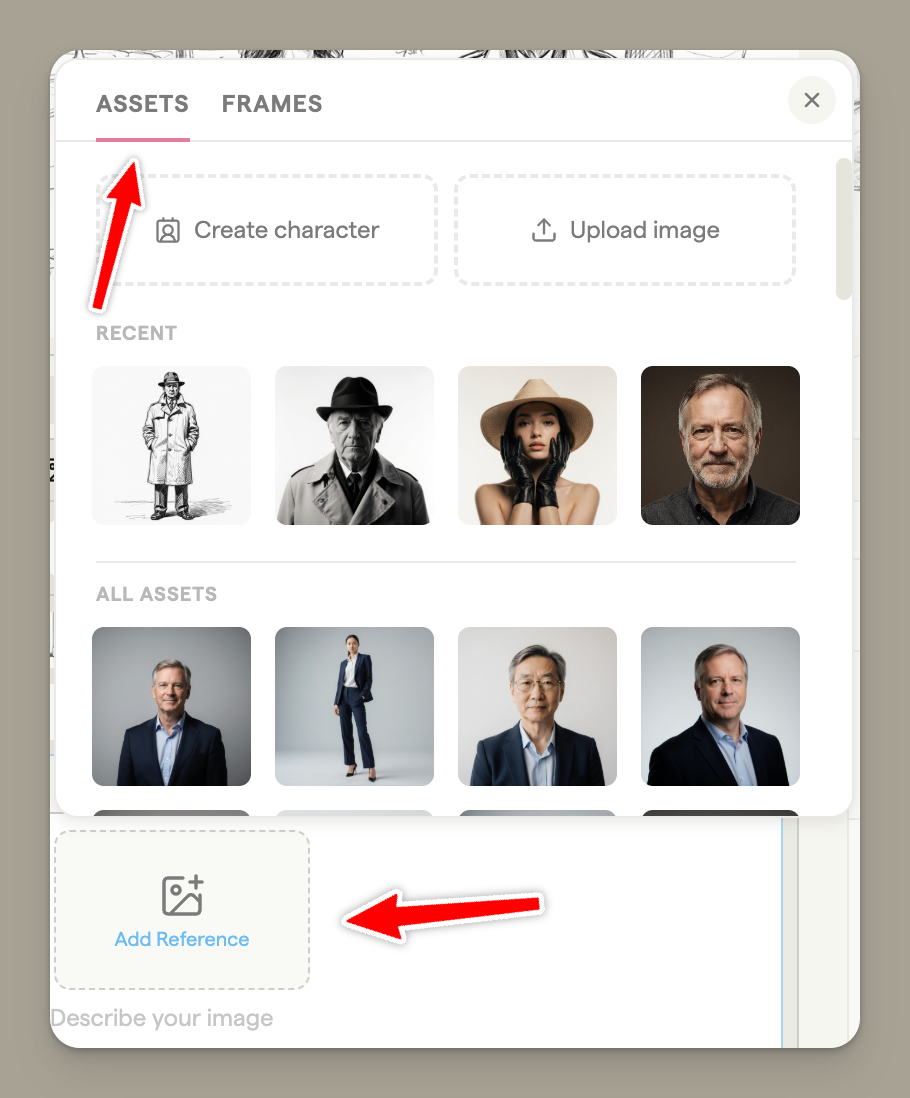
The Assets tab of the reference picker shows your team's Asset Library alongside images uploaded to this project, plus anything saved from the Playground:
| Feature | Description |
|---|---|
| Team Asset Library | Characters, locations and props your team has saved once, available in every storyboard |
| Upload images | Add character designs, location references, or style guides on the spot |
| Reuse across frames | The same asset is available for all frames, and for every project on the team |
You can attach up to four reference images to a single generation.
Using reference frames
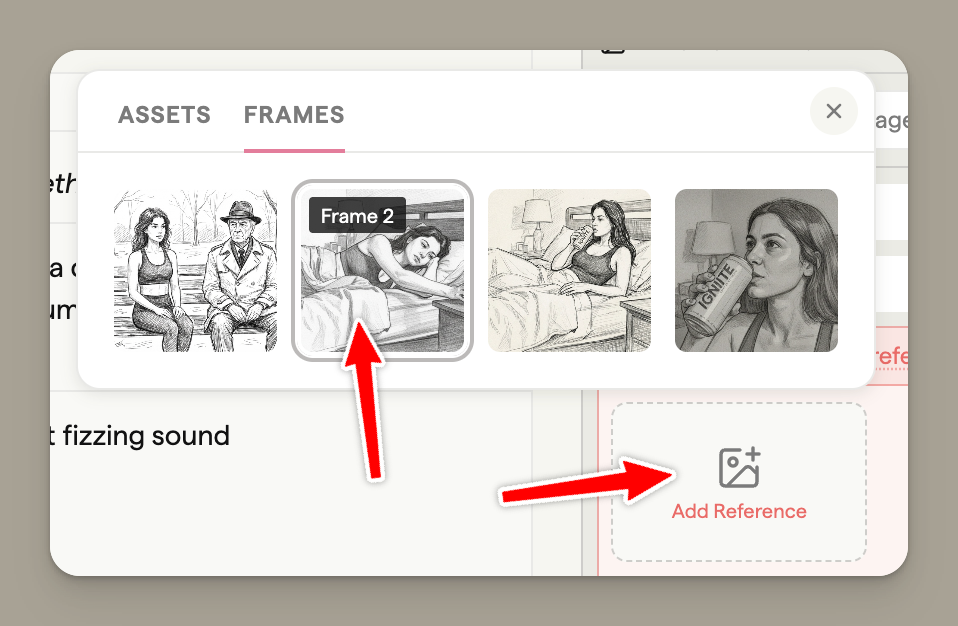
Use existing storyboard frames as references:
| Feature | Description |
|---|---|
| Maintain consistency | Reference a frame to keep characters or settings consistent |
| Build sequences | Use the previous frame to maintain visual continuity |
| Best for | Continuing scenes, character consistency, location matching |
Combining references
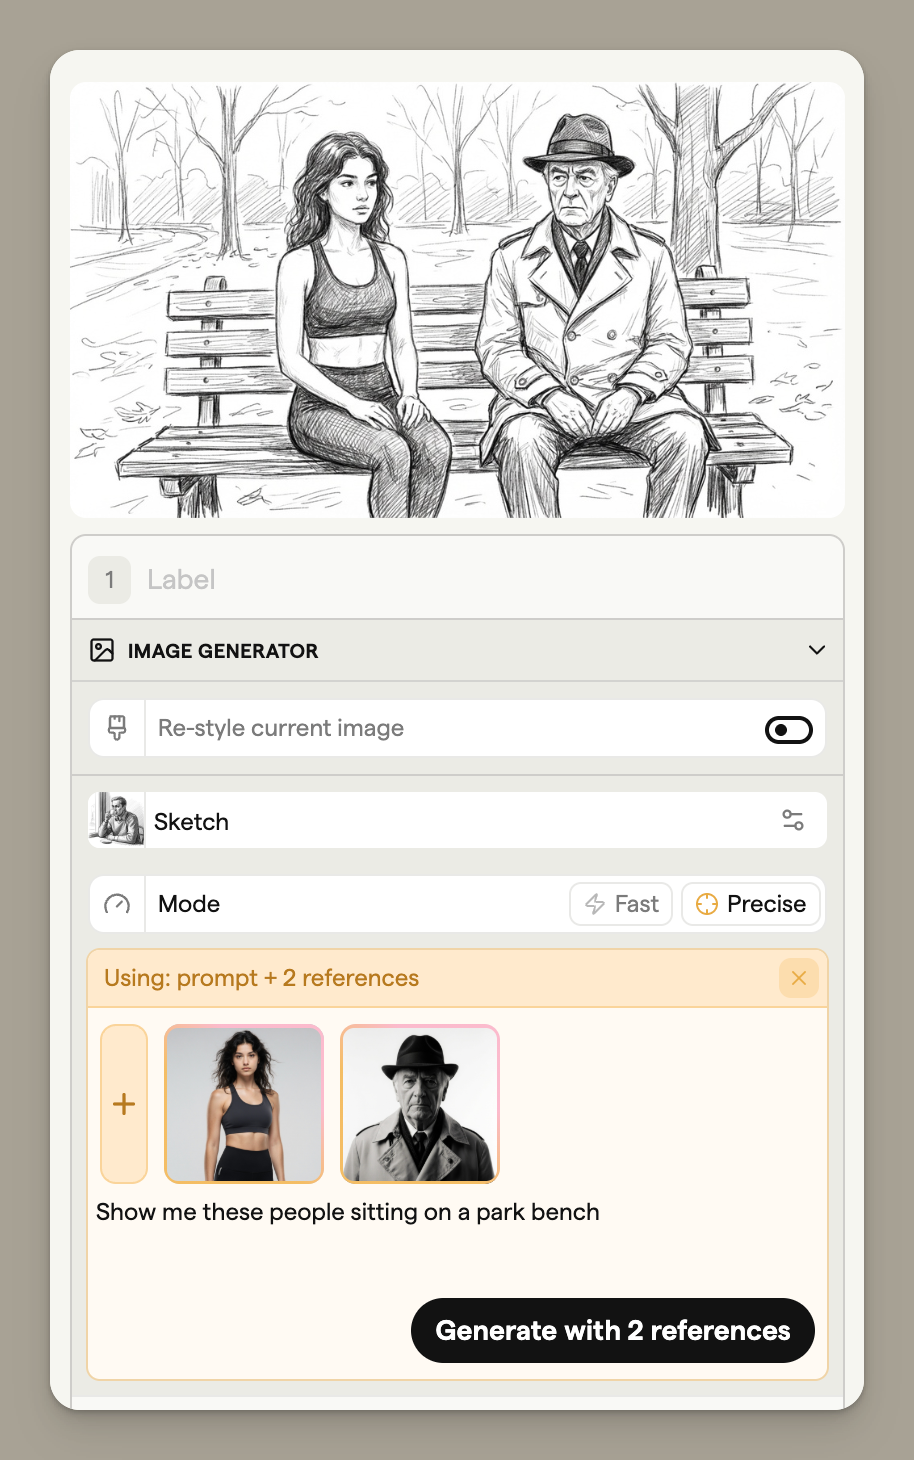
You can attach multiple reference images to combine elements:
- Add a character reference and a location reference
- Combine multiple character references for group scenes
- Mix assets and frames for maximum flexibility
Choosing a style
Pick a visual style that matches your project. Click the Style dropdown to see available options.
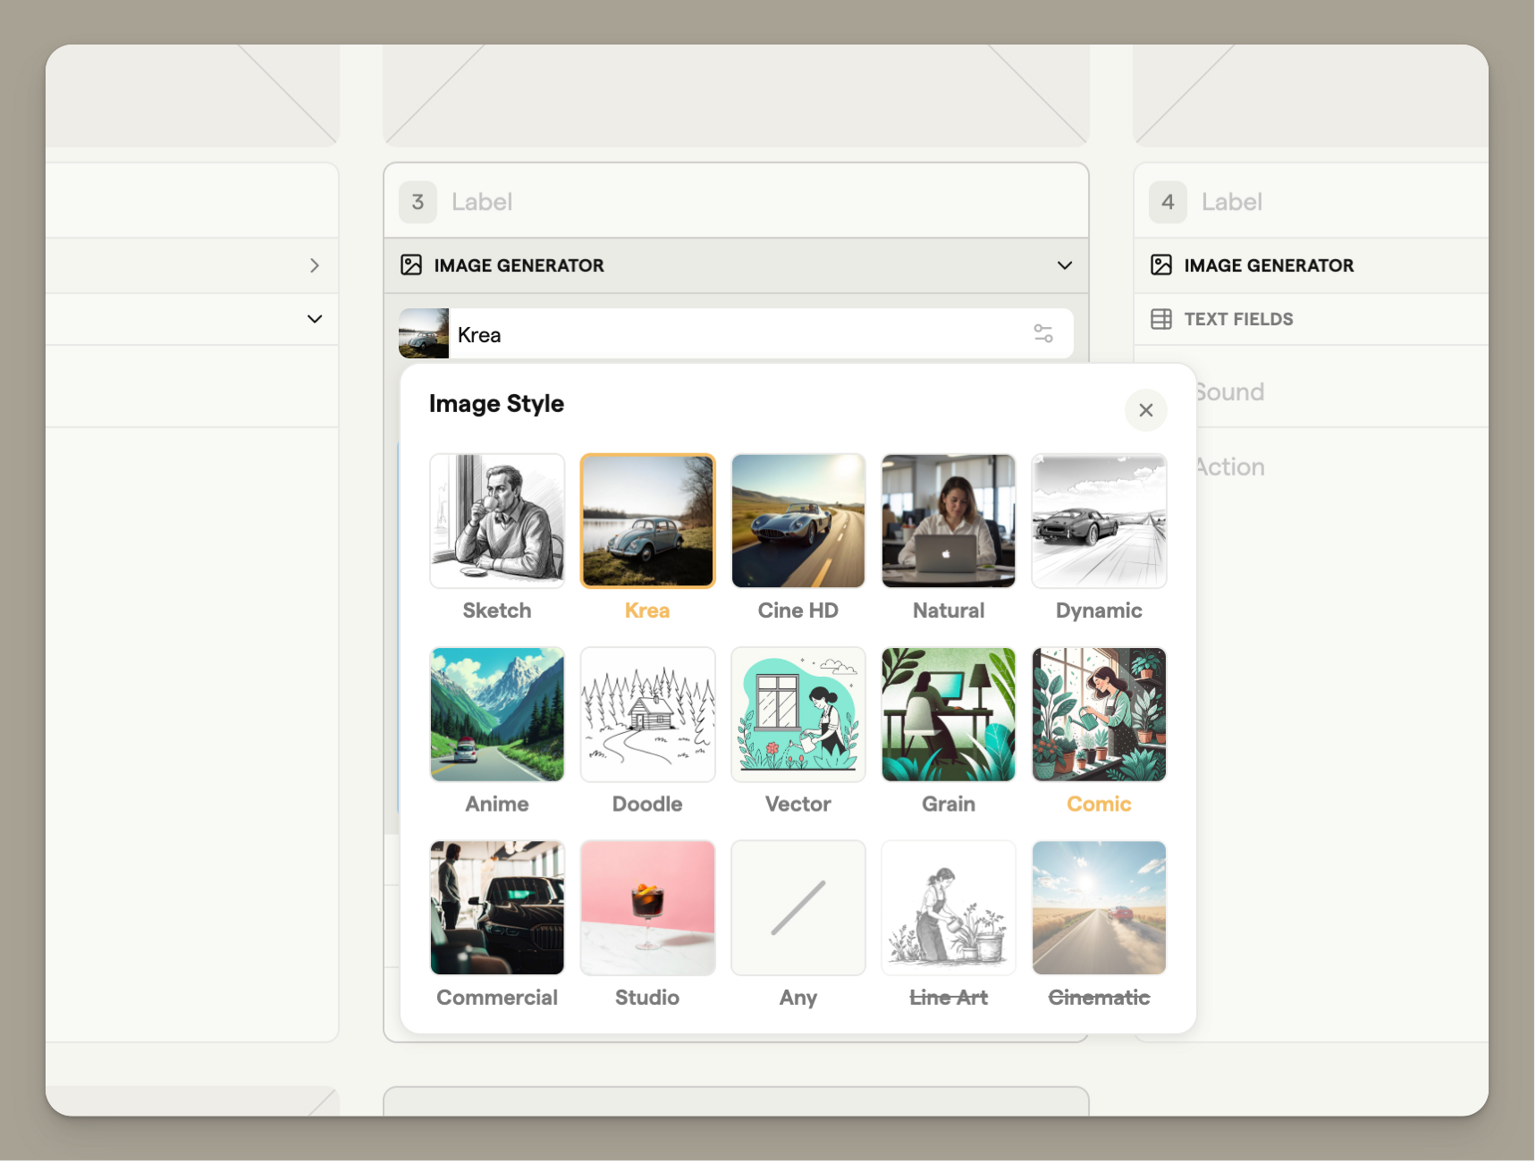
Each style produces distinctly different results. Preview the style thumbnails to find one that suits your needs. You can change styles at any time and regenerate images. Some styles also support a custom color palette for brand consistency.
Tip: Experiment with different styles early in your project to find the best match for your creative direction. See Styles & restyling for the full list and colour palette controls.
Writing effective prompts
The prompt describes what you want to see in your image. Good prompts are specific and descriptive.
Prompt basics
| Approach | Example |
|---|---|
| Be specific | "A detective in a trench coat examining a clue under a streetlight" rather than "a person" |
| Include details | Describe lighting, mood, colors, and environment |
| Mention important elements | Characters, objects, settings, and actions |
Note: Select the images you want to reuse with @mentions or the reference picker. A phrase such as "from frame 5" doesn't attach that frame's image.
Camera angles and shot framing
When generating an image in Canvas without reference images attached, you can select a shot type to control the camera framing. Click the Shot type dropdown to choose from available options.
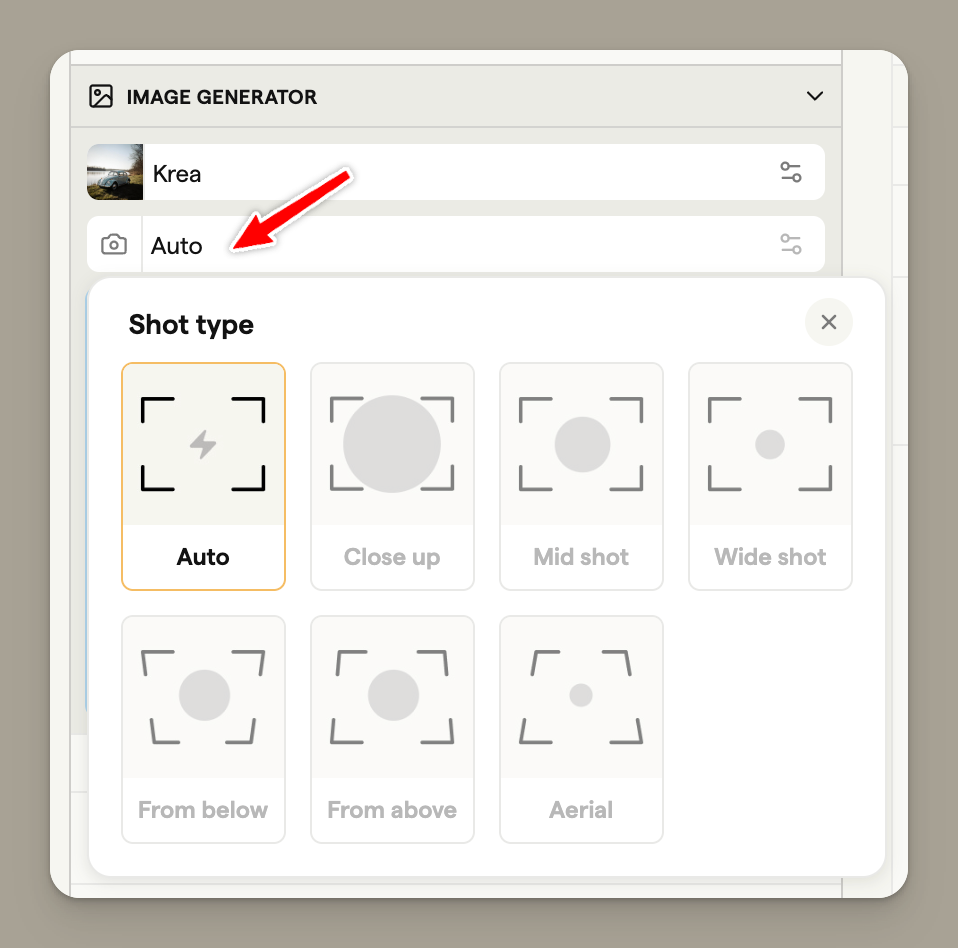
| Shot type | Description |
|---|---|
| Auto | AI determines the best framing |
| Close up | Tight framing on subject's face or details |
| Mid shot | Subject framed from waist up |
| Wide shot | Full subject with surrounding environment |
| From below | Camera looking up at subject |
| From above | Camera looking down at subject |
| Aerial | Bird's eye view from directly above |
Note: The shot type selector is only available when no reference images are attached. When using references, specify your desired camera angle in the prompt instead (e.g., "Show me a close up of the character").
For reframing an existing image to a new angle, see the Camera reframe section above.
Restyle
The Restyle sub-tab changes the artwork style of the current image without rebuilding the scene. The layout, characters, and poses stay intact while the style swaps over.
See Styles & restyling for the full walkthrough.
Revisions
Every Canvas generation, Camera reframe, Restyle, drag-dropped local image, and inline grid generation creates a frame revision. Revisions survive reload, ride with the frame, and can be paged through, locked, or deleted. See Frame revisions for the full guide.
Image credits
The image generator uses a credit system:
| Action | Credit cost |
|---|---|
| Generating preview variations | Free |
| Inserting an image into your storyboard | 1 credit |
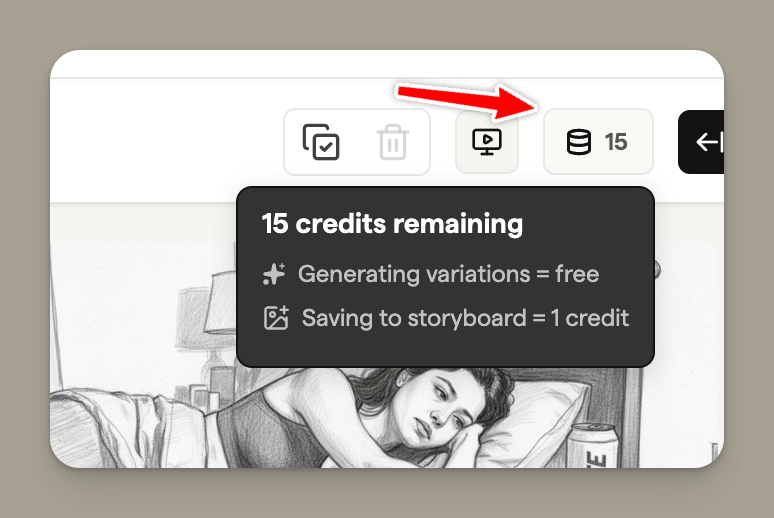
You can generate as many preview variations as you like without using credits. Credits are only consumed when you choose to insert an image into your frame.
Note: Your monthly credit allowance depends on your plan. Solo gets 250/mo, Pro gets 1,000/mo, Team gets 2,000/mo, and Agency gets 3,000/mo. See Billing & plans for details.
The inline grid generator
The storyboard grid also has a quick generator for first-pass populating frames. Use it when you want to fill a fresh storyboard fast, then refine individual frames from the Generate sidebar. Each grid generation saves as a frame revision, so any sketch, restyle, or edit you make later keeps the history.
You can type @ in the inline prompt to select library images, just as you would in the Generate sidebar. The same four-reference limit applies.
Inline generator states
The generator input field changes color to indicate its current state and what type of generation will occur.
Prompt only (blue)
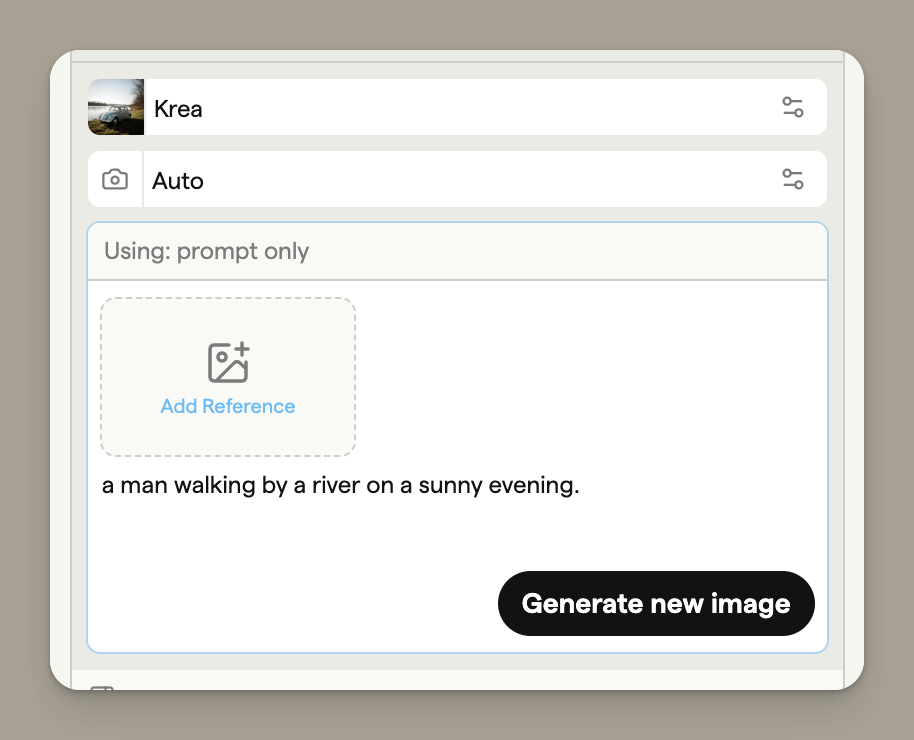
A blue outline indicates standard generation mode. Boords will create an image using your prompt text and selected style settings. This is the default state when no reference images are attached.
Reference attached (yellow)
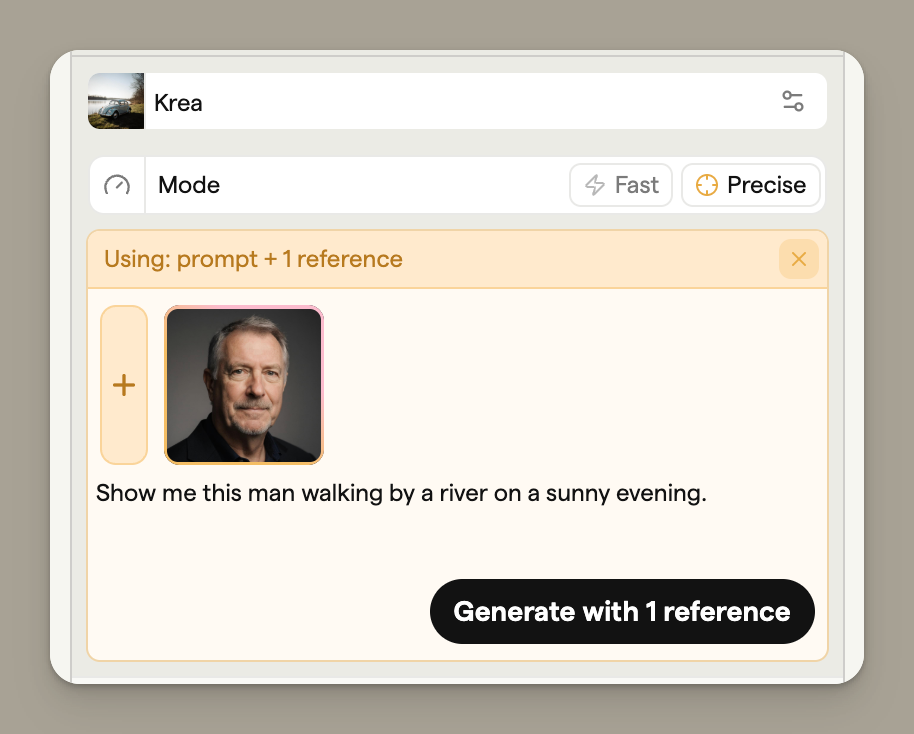
A yellow background indicates that reference images are attached. Boords will use these references along with your prompt to generate an image that incorporates elements from your reference images.
Reference required (red)
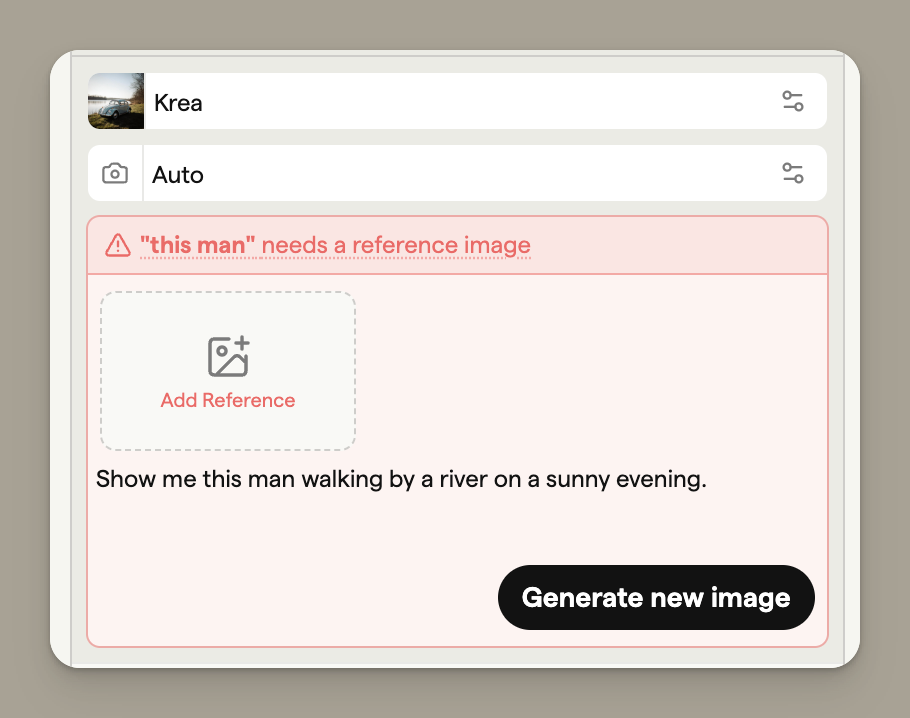
A red background indicates a problem: you've attached a reference to another frame, but that frame doesn't have an image yet. You need to generate or upload an image to the referenced frame first, then return to continue.
Tab to autocomplete
When your frame has text content (like action or dialogue fields), press Tab in an empty prompt field to automatically generate a prompt based on that content.
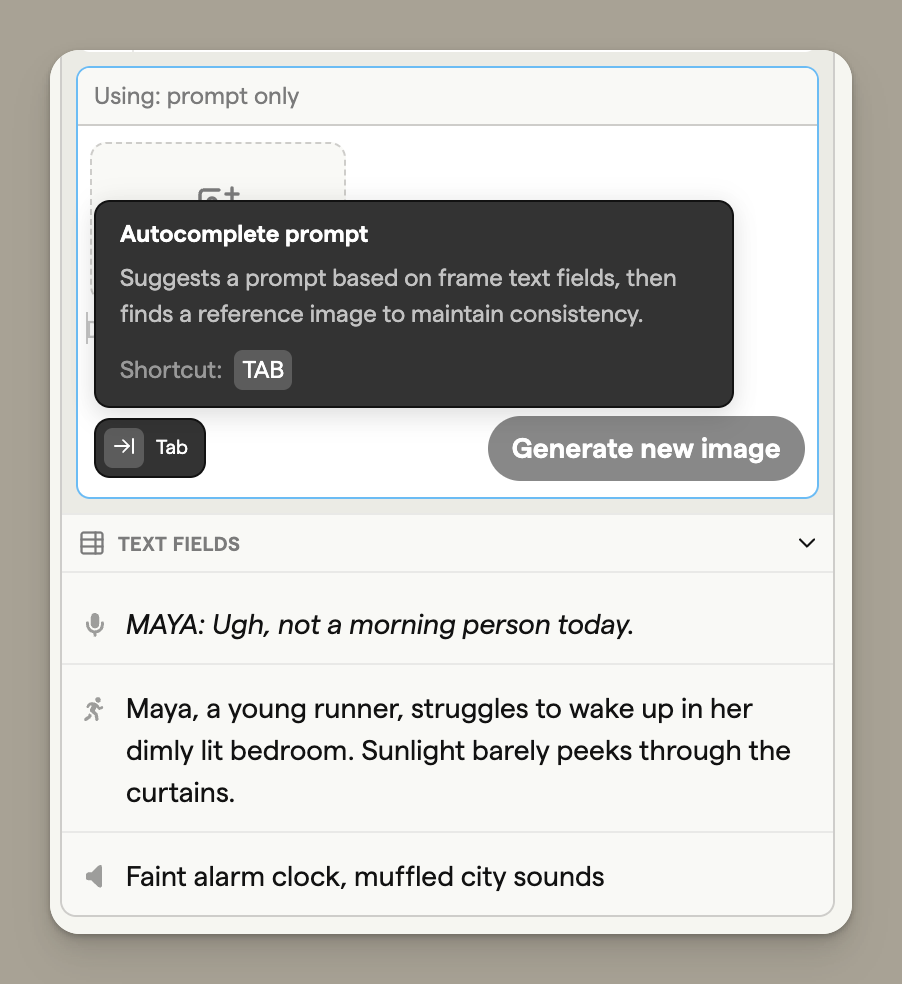
This feature:
- Reads your frame's text fields
- Generates an appropriate image prompt
- Optionally finds a relevant reference image from your storyboard
Tip: Tab autocomplete is a fast way to generate images that match your script content.